Last Updated on December 17, 2024 by Rachel
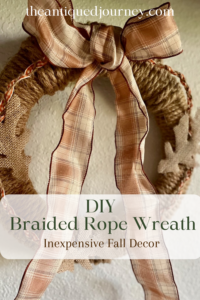
Create a simple braided rope wreath DIY for fall using dollar store materials!
With the fall season in full swing, I thought it would be fun to create an easy wreath that can be hung in multiple places. This wreath blends coastal style with the rustic nature of autumn, making for a cozy piece of fall decor. Come along as I show you how to make a simple braided rope wreath DIY for fall!
Materials and Supplies for a DIY Fall Wreath
- one 12 inch wire wreath form
- jute rope
- twine
- thin plaid ribbon
- hot glue gun and glue sticks
- wide plaid wired ribbon
- scissors
Simple Braided Rope Wreath DIY For Fall
Below is the step-by-step tutorial on how to make this wreath for your own home. As always, this is meant to be a guide. Feel free to tweak things as necessary to fit your spaces’ aesthetic.
Step 1: Wrap Wreath Form.
I used a 12-inch wire wreath form for this project but feel free to use a smaller or larger size.
Start by wrapping jute rope around the form a few times. Knot off the end so that the rope stays in place.
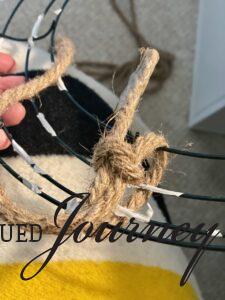
When wrapping, make sure that the rope is touching the previous wrap.
You don’t want any gaps or spaces in between the rope otherwise the wire form will show through!
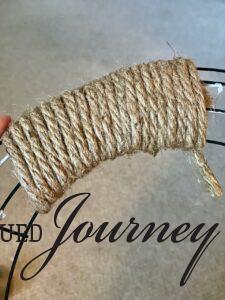
Now, if you are like me, I was using rope that came in three foot sections.
So, whenever I ran out of that length, I attached the next section by knotting the rope to the previous one.
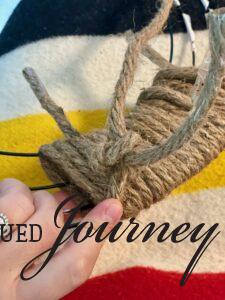
Keep wrapping the rope around the form, pulling tight as you go along.
I will say that this step is the most tedious out of the whole project. Going into it, I was like “oh…wrapping rope around a form is so easy…it won’t take me long at all!”
Boy was I wrong! From start to finish, the wrapping process took me over an hour! So, be patient. Eventually your rope ends will meet again 🙂
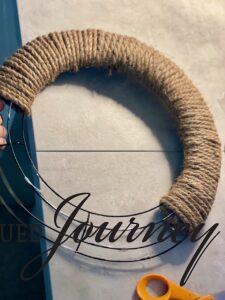
When you get all the way around, secure the end of the last rope section to the start of the first section by tying them together.
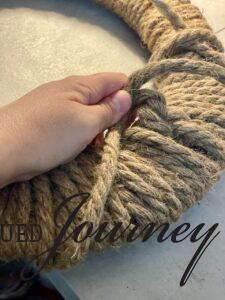
After that, you will want to go back and cut off any tag ends of rope that are left from attaching one rope section to the next.
This helps to clean up the back of the wreath, helping it to not be bumpy so that it hangs nice and flat.
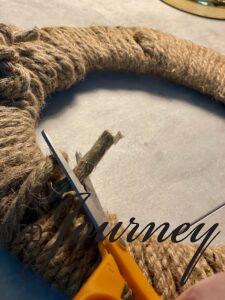
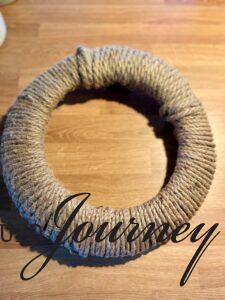
Your wreath will look something like this when it’s all wrapped and cleaned up!
Step 2: Braid Ribbon and Twine.
After the wreath form is ready, the next step is to braid two pieces of twine and one piece of skinny plaid ribbon together.
To do this, first cut 3 strips of each roughly the same length. I cut each of my pieces to 24 inches.
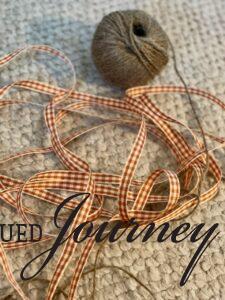
Once cut, knot all three pieces together at the top.
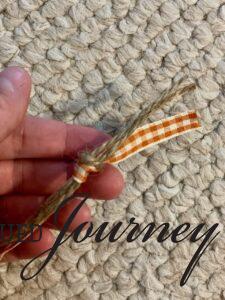
Then, so that it won’t slide around, I taped the top of this piece to my counter.
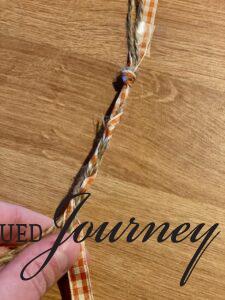
For the braid itself, I wanted a looser, wispy look so I didn’t pull the twine and ribbon tight.
I simply braided the pieces together and kind of let the pieces go where they wanted to.
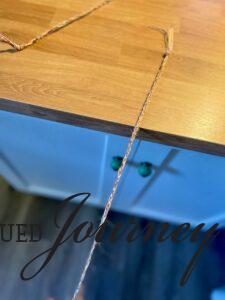
This is one of two braided pieces that you need to make.
Make another braided piece the exact same way and then continue to step 3!
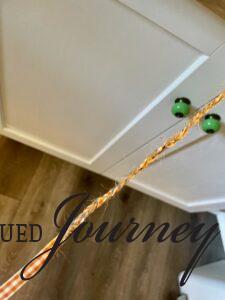
Step 3: Attach Braids.
Next, using a hot glue gun, I attached each braided piece to the top middle of the wreath form.
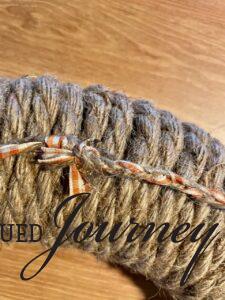
Then, I curved each braided piece down each side of the wreath.
I put a little dab of hot glue every 8 inches or so to secure them.
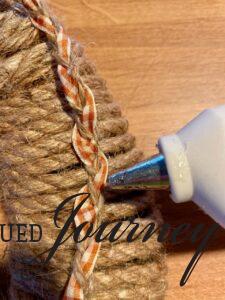
When you get to the bottom of the wreath where the two pieces meet, match up the twine and ribbon pieces and secure them with hot glue.
This step will not be perfect. Just get it as close as you can and call it good!
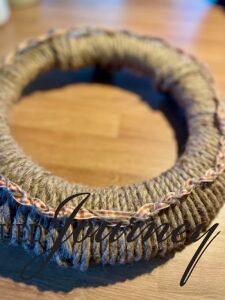
Step 4: Tie a Large Bow.
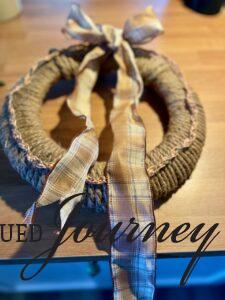
After that, I used a wide piece of brown plaid wire-edged ribbon and made a large bow.
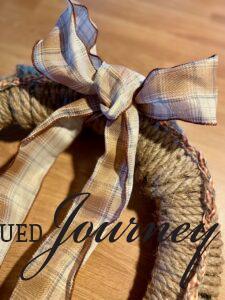
I cut each tail end of the ribbon pieces into a ‘v’ for a finished look.
Then, I attached it to the top of the wreath with hot glue! This also covers up the beginning of braid pieces which looked a little messy.
Step 5: Glue Burlap Leaves.
The last step is to attach a few burlap leaves to the wreath.
I initially wasn’t going to use these but, after stepping back and looking at the wreath as it was, I knew they would look pretty and add another layer of dimension.
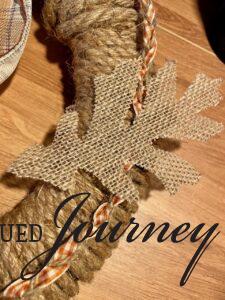
The burlap leaves I used from the dollar store had wires attached to them. I didn’t need those to be there so I just peeled them right off.
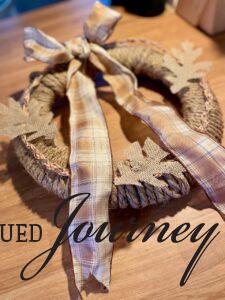
With the size of my wreath, I didn’t want to pack it full of these leaves. Five seemed like too many so I went with three.
Spacing them an equal distance apart, I glued them down with hot glue.
Tips for Displaying a Fall Wreath
With that, we have a finished fall wreath DIY!
The rustic and natural look of this homemade decor piece is so lovely for the season.

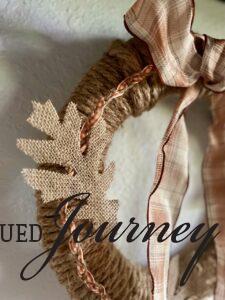
I have it displayed on a wall in the living room underneath a shelf that’s decorated for fall.
The plaid used on the shelf and the wreath helps to marry the two spaces together.

Other places you could display this fall wreath DIY can include:
- on the front door
- hanging over a window
- on a patio or screened in porch
- in your front entry
- on a bathroom wall
Burlap, plaid, and jute are some of the coziest textures that you can use for fall decorating. Each part of the wreath ties in with the next and, as such, lends warm layers to your home for autumn.
Closing Tidbits on a Simple Braided Rope Wreath DIY for Fall
It is my sincere hope that this simple braided rope wreath DIY for Fall is inspires you to create something handmade for your home this season. Using your hands to craft something unique to decorate your spaces with is special and rewarding.
This Fall season, be encouraged to slow down and let your creativity speak through you. You will be amazed at what it can come up with if you only choose to listen.

Leave me a comment! Do you like creating DIY home decor? I love hearing from you!

If you are new here, I’m Rachel, the writer and content creator here at The Antiqued Journey. I’m so happy to have you! I encourage you to stop by the ‘about me’ page to get to know me a little more.
Here on the blog, you will find loads of inspiration for decorating with vintage and antique decor, simple DIY crafts and many thrifting adventures. If that interests you, I invite you to sign up for my e-mail. You will receive a free digital download as a thank you!
Follow Along with The Antiqued Journey
- The Antiqued Journey shop
- Browse exclusive shopping finds in my LTK shop
Other Fall DIY Posts

DIY Fall Garland With Waxed Leaves




16 Comments. Leave new
This is lovely Rachel. I love all the rustic and cozy vibes. You made me laugh about wrapping the rope around the wreath form. I always think a project will be super fast until it’s not. I just always put on a good show and go with it. Thanks for sharing friend. XO- MaryJo
Thank you!! Haahaha…I knnooowwww.
Love this, Rachel!
thank you!!
This looks so good, Rachel! I love the way you added the braided piece and the leaves too. I have that bow as well and it goes with so many things I wish I could find a spool of it. As always great job sweet friend, it’s fabulous! Hugs, CoCo
Hi!
Thank you!! I appreciate your kind words so much, CoCo! Thanks for coming by today…hope you have a lovely weekend!
Hello Rachel! You know I love a good Dollar Tree DIY, and this turned out fabulous! It’s the cutest wreath, and I can relate to it taking longer than you thought it would! It was so worth it! Thanks for sharing such a great idea!
Hi!!
Thanks so much, Donna!!
Hi Rachel! I love the texture this wreath imparts. Thanks for the heads up about how long it takes to wrap the rope around the form. Like you, I would have assumed it would be faster.
Hello!
Thank you!!
Super cute! And with such affordable supplies too! Thanks for sharing 🙂
Thank you!!
[…] simple braided rope wreath DIY for Fall how to use thrifted art for fall decorating […]
[…] two burlap Oak leaves. I wish I had three of these but it’s what I had leftover from this DIY wreath project, so I just went with […]
[…] Braided Rope Wreath DIY […]
[…] Simple Braided Rope Wreath […]