Last Updated on February 18, 2025 by Rachel
Imagine the soft, warm glow of a candle on a chilly evening. Isn’t that cozy? Learn how to make natural soy wax candles easily!
Are you tired of spending money on expensive, store-bought candles that never seem to last? Have you ever wanted to create your own unique scents and designs? Look no further! In this post, I’m sharing how to make natural soy wax candles easily. From prep to scenting to pouring, you’ll find it all below!
Budget-Friendly Fragrance: Make Your Own Soy Wax Candles
From the basics of candle making to tips for perfecting your own unique creations, this guide will provide you with all the information you need to start making your own eco-friendly and cost-effective candles.
And, did you know that soy wax candles burn up to 50% longer than traditional paraffin wax candles? So, not only will you be saving money, but you’ll also be reducing your carbon footprint.

Get ready to unleash your creativity and learn the art of making your own soy wax candles from scratch. Let’s dive in!
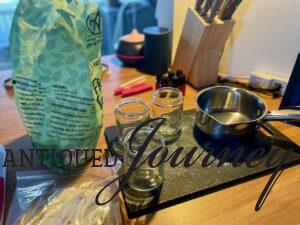
Materials Needed for Homemade Soy Wax Candles
- glass jars
- soy wax
- candle wicks
- small pot (for stove option) or glass bowl (for microwave option)
- long stir spoon
- essential oils
- scissors
- hot pad or mitts
- wooden skewers or long chip clips
- measuring cup
- spoon for scooping
- food thermometer
- double sided tape (optional)
Safety First: Follow Safety Precautions for Making Candles
Please remember to use caution and care when handling hot wax. If the oil scents seem overwhelming, open a window, turn on a fan, or use the stovetop exhaust.
*The Antiqued Journey is not responsible for any injuries associated with hot wax in the pouring or making of your own candles.*
How to Make Natural Soy Wax Candles Easily: Step by Step Tutorial
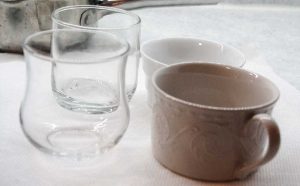
Step 1: The Containers
Glass containers and jars are easily found at thrift stores for under $1.00. I found 4 of them to use for this DIY and the total bill came in at just under $4.00. You can use typical clear glass jars but feel free to get creative and use mason jars, ceramic tea cups, or even small coffee mugs!
Be sure to wash your containers well with warm soapy water to remove any debris.
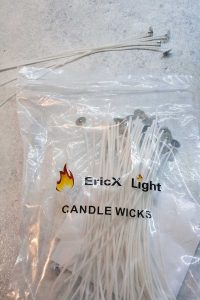
Step 2: The Wicks
If your wicks came with sticky bottoms, all you need to do is adhere them to the bottoms of each jar .
If your wicks didn’t come with sticky bottoms, double sided tape is best to attach them to the jar.
Once you have each wick secured, you will need to lay a skewer, chip clip, or wooden dowel across the top of each jar to wrap each wick around so that is taut and centered in the jar.
I used a long chip clip to hold the wick up and that worked well.

Step 3: The Wax
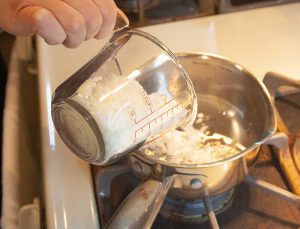
For this step, you will first need to find the capacity of each jar then double the amount of wax flakes. For example, if your jar holds one cup of liquid, then you will need to measure out 2 cups of wax.
Tip: The easiest way I found while doing this is to use the actual jar that you want to use next, scoop the wax flakes into it with a spoon, pour those flakes into a measuring cup, then repeat. That way you have the exact amount of wax needed for each particular jar while not wasting any wax.
Pour all of the wax flakes into a heat safe container. You have the option now to either heat your wax on the stovetop until melted, stirring regularly, or in the microwave, stirring every 20 seconds.
I much prefer melting the wax on the stovetop. For me, it’s much easier to control and I like the fact that I don’t have to keep opening and closing the microwave to stir the wax as it melts.
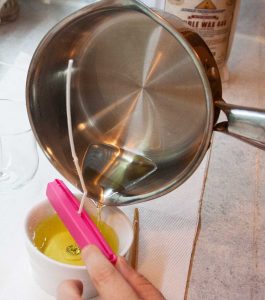
Step 4: Adding Scents
Important: Allow the wax to cool to roughly 130 degrees in the pot before adding the scent oils. Otherwise, the wax will be too hot and the oil will just evaporate.
Use an instant read thermometer to stick in the wax to check the temperature. This is a very important step because, if you add the oils when the wax is too, hot you run the risk of the scent evaporating before the wax solidifies.
You’ll also need to use a lot of oil to get a good sent, at least 70 drops combined. I’ll talk about this in more detail below.
Tip: It’s important to add an oil from each of the top, middle, and base notes.
Basically, top note oils are the first oils you smell when you light the candle and will dissipate into the air first.
Some oils in the base note category include:
Middle note oils have a bit of a softer scent and these include Lavender and Rosemary.
Base note oils last the longest and evaporate the slowest.
Some oils in this category include:
How To Create A Scent Blend for Soy Wax Candles
Go through some of the oils listed above (or other ones you may have) and pick 1 scent from each note category.
For example, some scents that pair nicely together are Clove, Peppermint, Orange and Cinnamon. Alternatively you could try Eucalyptus, Orange and Patchouli.
There are endless combinations so just go with whatever smells pretty to you! Again, Whatever oils you choose, you need to use at least 70 drops combined (example 20 drops clove, 50 drops cinnamon). Essential oils are not as strong as artificial scents in candles.
Give the melted wax a good stir with a wooden spoon to mix in the oils well.
Step 5: Pour
After you have a scent that seems nice to you, pour the wax into your jars, leaving about a half inch of clearance at the top of each jar.
Be sure the wicks are centered and straight as you do this.
Leave the jars to stand for at least 12 hours before moving or touching them!
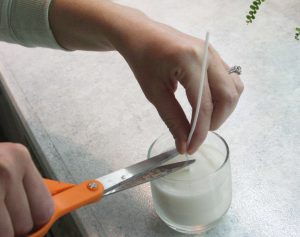
Step 6: Trim
After the 12 hours are up, use a scissors to trim each wick down to 1 inch.
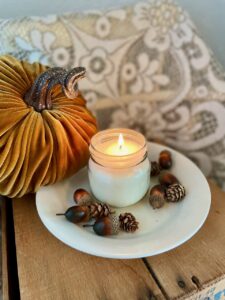
Craft Your Own Custom Soy Wax Candles
There you have it… your very own homemade candles!
These candles are not only beautiful but eco-friendly and sustainable, as well. Once it runs out, you can simply pour another!
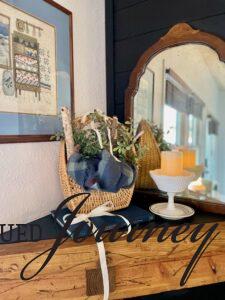
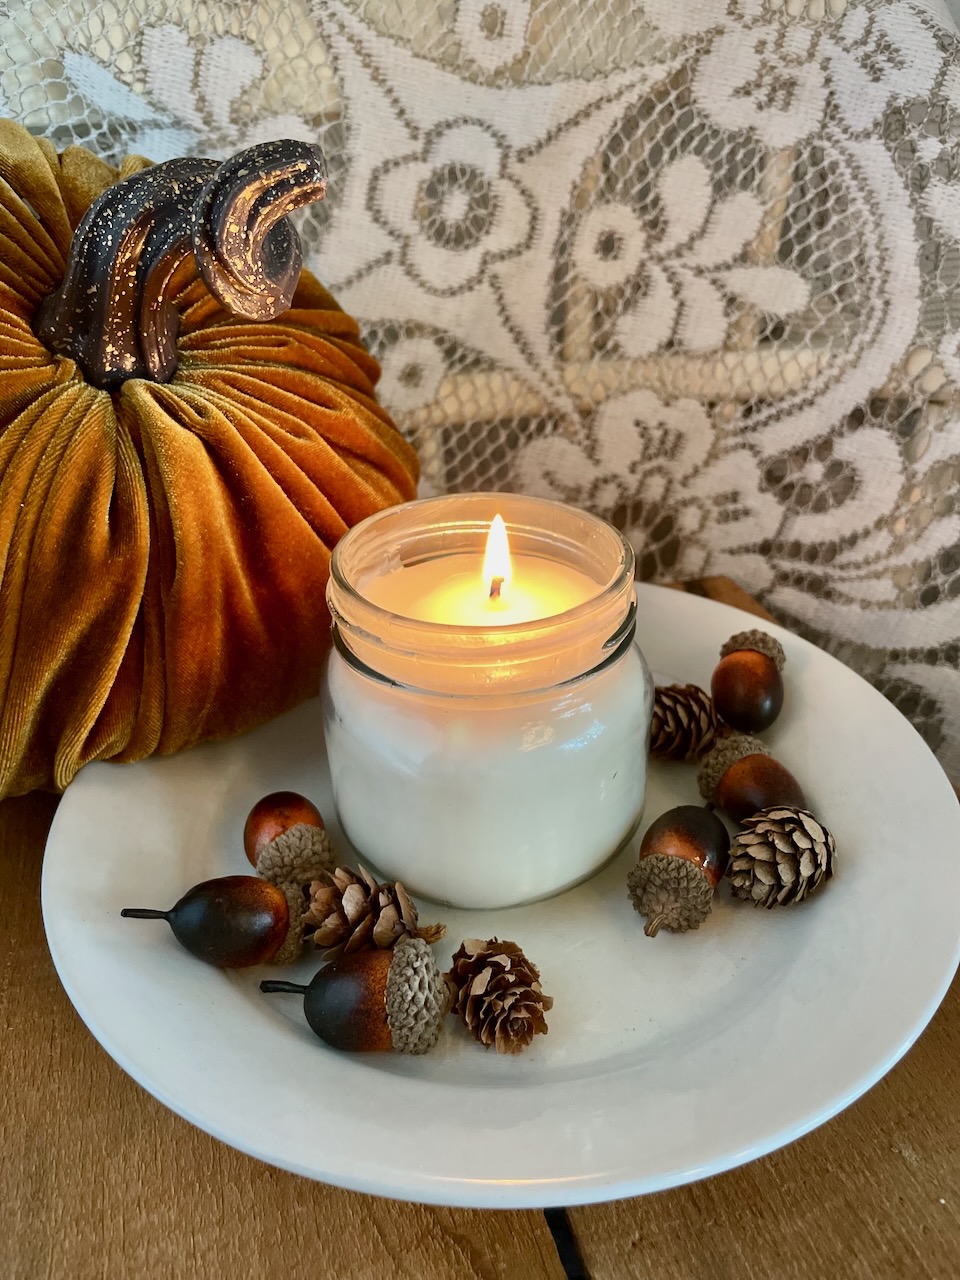
Displaying Soy Wax Candles
Some favorite areas of my home where I love to light a candle include:
These homemade soy wax candles also make wonderfully special gifts. I’ve poured and given so many candles as gifts to my family and friends. The joy that exudes from their face when given a handmade item is incredibly rewarding.
Closing Tidbits on DIY Soy Wax Candles
I hope these simple, homemade soy candles enrich your home no matter the season. Here in the Northland we like to practice ‘hygge’, which is a Danish term meaning a quality of coziness and of feeling warm, comfortable, and safe. Candles help to exude that feeling.
Be encouraged to live the hygge lifestyle, however that looks and feels for you.

 PIN it to save it for later!

If you are new here, I’m Rachel, the writer and content creator here at The Antiqued Journey. I’m so happy to have you! I encourage you to stop by the ‘about me’ page to get to know me a little more.
Here on the blog, you will find loads of inspiration for decorating with vintage and antique decor, simple DIY crafts and many thrifting adventures. If that interests you, I invite you to sign up for my e-mail. You will receive a free digital download as a thank you!
Follow Along with The Antiqued Journey
- The Antiqued Journey shop
- Browse curated items in my LTK shop


11 Comments. Leave new
Hello, I love this idea but am a little confused about adding the oils. Do you just add the oils to the pan before pouring in glass? Do you use 70 drops of each scent? Thank you
Hi Kim, Whatever essential oils you choose, you need to use at least 70 drops combined (example 20 drops clove, 50 drops cinnamon). Go ahead and add them directly to the pot before you pour the wax into your chosen containers. Let me know how your candles turn out!
[…] and makes your home feel extra special. You can read the full tutorial on creating your own DIY Soy Wax Candles. Be inspired to make your […]
[…] special? Pouring your own! This is a fantastic winter activity and I have a whole blog post on DIY Soy Wax candles dedicated to creating […]
So excited to see this post Rachel! I’ve always wanted to make candles but had no idea how to go about it! Pinning this now so I can follow it in the future! Thanks for sharing your expertise!
oh yay! Making candles is soothing…pouring the wax and making the blends…so fun. It takes a few tries to get the hang of it but totally worth it!
Wow, this sounds like an amazing, fun thing to do! Your directions are excellent and really easy to understand. Our local Dollar General store had some glass containers for 90% off the other day! I wish now I had bought them, as I would really like to try making these. God bless you with a great autumn season!
Hi, Cheryl!
Thanks so much! You could also check the thrift store for jars…I’ve seen bunches of glass jars for .50 cents that would make great candle containers. I hope you give it a try…it’s super fun and rewarding! Appreciate you stopping by today! Have a lovely weekend!
Thank you for sharing your technique with us Rachel! Your candles always smell amazing and they burn clean. I love using vintage containers for candles too.
Thank you!! Yes…vintage vessels are also SO pretty!
[…] my home, DIY projects, fly fishing, pouring candles, thrifting, and adding things to my collections are all rewarding and satisfying […]