Last Updated on January 26, 2025 by Rachel
Vintage hutch decor ideas for spring are timeless, cheery, and full of bright blooms!
Have you ever had a thing that you were so excited about and you just couldn’t wait to share it with someone?! That’s me today because I’m beyond elated to share my new hutch with you! For vintage decor lovers like myself, a hutch is a highly prized piece of furniture because of all the decorating options that it brings. Come along as I share some timeless vintage hutch decor ideas for spring!
Thrifted Spring Decorating with Vintage Finds
When I first brought this piece home, I felt like a little kid who had just received a brand new toy. I played with decor and other accessories in it for hours!
With this recently acquired ‘new’ hutch, I thought it would be fun to share, as a beginner in hutch decorating, my first go at it. Follow along as I share my tips and tricks for first time hutch owners and decorators!
Vintage Hutch Decor Ideas for Spring
You guys, I adore my new hutch. It’s like it was meant to be for this exact space in my home. If you haven’t heard, I found this piece on Facebook Marketplace a little over a month ago for only $130 after months of searching!
It has everything I was looking for in a hutch including plate grooves along the back and storage underneath with doors. This hutch also has the most beautiful carved wood detailing across the top as well as pretty curved feet on the bottom.
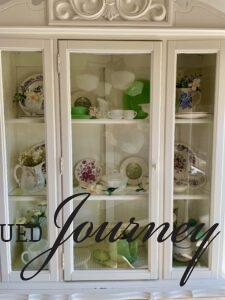
It has So. Much. Space. Copious amounts of space. I’m not used to having this much open shelving to decorate! It’s wonderful. However, it ended up being pretty overwhelming at first with idea after idea swarming through my brain. So, if you are new to hutch decorating like me, I hope these small steps can help break down the process!
We are going to start at the bottom of the hutch and work our way up.
Shop the Vintage Look!
Vintage Spring Hutch Decor: Bottom Shelf
First, to help anchor the space, I placed a vintage table runner along the bottom. I did have to fold the front part a tad to get it to fit but that’s totally okay.
Initially I had the bottom bare, without the runner, and it felt much too open, like all the decor was just floating. Linens of any kind are always helpful when looking to anchor or fill in a space.
![]()
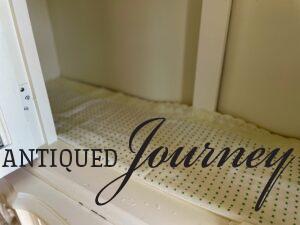
After that, I simply started placing decor. When I’m styling a shelf, I like to decorate with three’s or have an odd number of pieces. That has always looked more pleasing to my eyes.
I started with a tall milk glass jar in the back left that is filled with faux Ranunculus flowers.
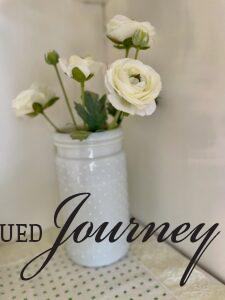
In front of it, I placed a shorter milk glass pitcher.
When styling a hutch, it is helpful to vary heights of the items that you are using. In doing so, it provides contrast between each piece.
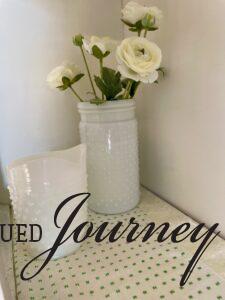
I followed that with a milk glass pedestal bowl.
Since I didn’t have any decor or stems in the pitcher, I decided to place some vintage bird plaques and butter pats in the bowl. This helps to break up all the white that is going on and bring in some color.
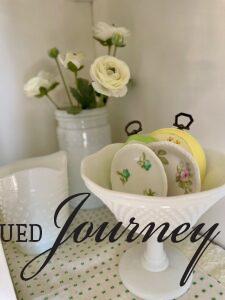
That completes the left side!
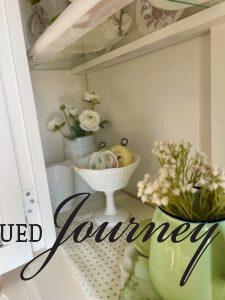
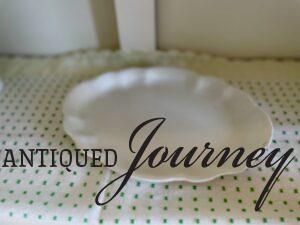
Now, moving on to the middle of the bottom shelf, I first placed an ironstone platter.
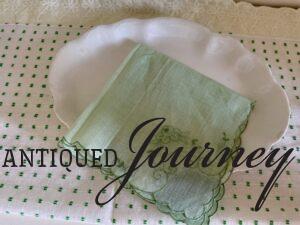
Then, I layered a vintage green hanky on top of the platter.
The green color ties in with the dots on the runner as well as the floral stems.
Then, sticking to the rule of 3’s, I set one of my favorite green enamel teapots on top.
A super easy way to add texture to a display is to stick some floral stems into any vessel. Here, I simply tucked some faux baby’s breath into the teapot.
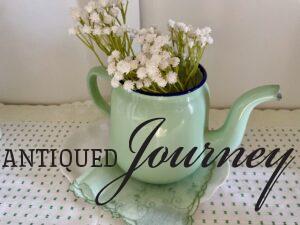
Now, on the bottom, there are four main pieces of decor with a few accents such as the hanky and the butter pats.
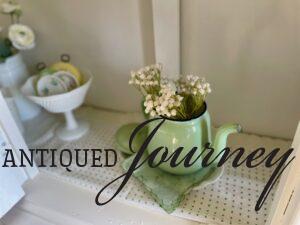
Let’s move on to the right side of the shelf!
To create some symmetry within the shelf as a whole, I used three items on the right side as well.
I first placed another milk glass vase using the same floral stems.
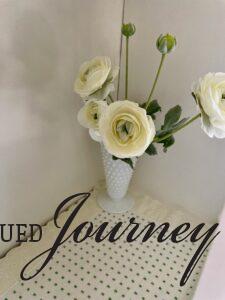
Then, in front of that, I placed a vintage book. The green color is superb and ties in well with the other green hues on the shelf.
I placed a floral enamel sugar dish on the book and then, behind it, a brown transferware vase to complete this side.
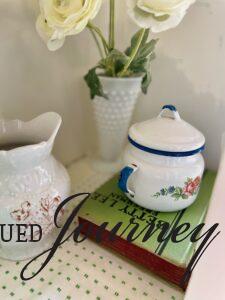
If you need something to add height when decorating a hutch or shelf, books are so handy! I personally love vintage books in any size, shape and color. They are just so easy to pull off of my bookshelf to stick in vignettes or displays!
You can also stack books or tuck them behind other items for color and depth.
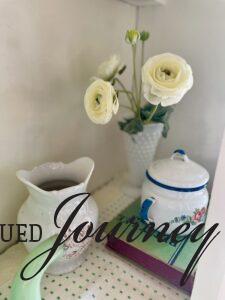
Okay! That completes the bottom shelf of the hutch.
The next two shelves I’m not going to go into as much detail as the bottom otherwise this post will get way too long. Just know that I used the same concepts as the bottom shelf and applied it to the other shelves.
Vintage Spring Hutch Decor: Middle Shelf
This shelf is where I started to play around with mixing and matching my transferware dishes. I’ve never actually tried this before and was a little nervous that it would look too busy.
But I think, paired with the solid white milk glass and green jadeite to help tone down all the patterns, all of the decor seems to flow together. I’m so happy about it!
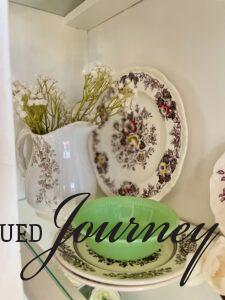
I anchored the left side of the shelf by using a transferware pitcher. To tie it in with the bottom shelf, I used the same faux baby’s breath.
By stacking this to new to me jadeite bowl on top of some brown transfer plates, it acts as a calm place to rest your eyes for a moment.
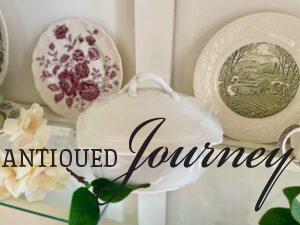
In the middle, I placed two smaller transferware plates. The lidded Ironstone dish was a very surprise find on my latest thrifting trip. It fits perfectly in this position, again acting as a neutral decor piece amongst the floral patterns.
On the right side, I used some matching pieces from my transferware dish set. I used this large dinner plate on the left side so again, to create symmetry, I placed a matching plate on the right side.
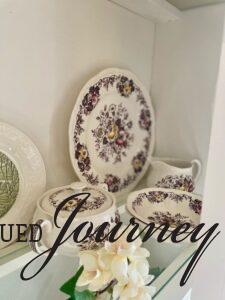
Those cream flowers you see? They are from a faux flowering branch that I had in my stash. I wasn’t fond of the brown looking stem on it anymore so I just used my floral cutters and cut the stem up.
The individual flowers are lovely fillers that I used throughout the middle shelf by simply sticking them here and there.
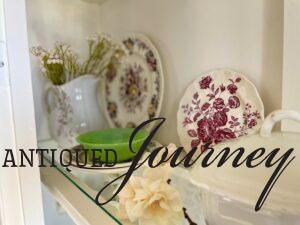
Vintage Spring Hutch Decor: Top Shelf
As we move onto the top shelf, I wanted to mention that this is a very creative process. It might seem like I had all of this done in an hour and everything perfectly placed exactly how I wanted it every time but that is simply not the case.
It took me almost three days to get my hutch looking how I wanted it to so don’t get discouraged! Play with it for a little while, go do something else and then come back to it.
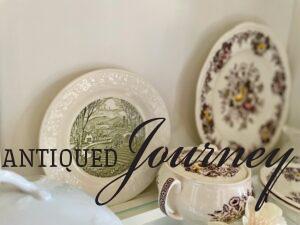
On the top shelf, I continued the mixing and matching!
I pulled two of the the same patterned plates used on the middle shelf up to the left side. Vintage milk glass and jadeite help to tie in with the other two shelves.
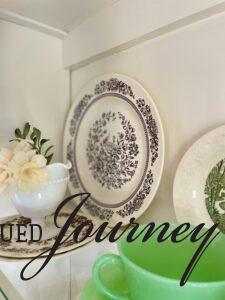
Here in the middle, you will notice the same white and green theme as on previous shelves.
I really played with varying heights on this shelf to help add interest and draw the eyes up. There is some gorgeous wood detailing on the very top of the hutch itself that I wanted to make a focal point.
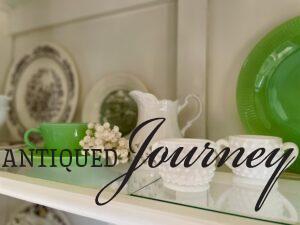
On the right side of the upper shelf, I added a pop of blue with this show stopping transferware vase! This vivid blue color ties in with the blue enamel dish on the bottom shelf.
Through my first hutch styling process, one thing I’ve learned is that nothing has to be so ‘match-y match-y’. In my opinion, as long as you have some neutral decor such as milk glass or plain ironstone mixed in with the patterned pieces, you can mix and match to your hearts content!
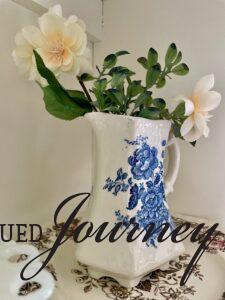
Spring Hutch Decor with Thrifted and Vintage Pieces
I will leave you with some full photos of the hutch all decorated for spring.
You guys, as a newbie hutch styler, I’m super proud of how this turned out. But I know, 100%, that I will keep learning things as I go.
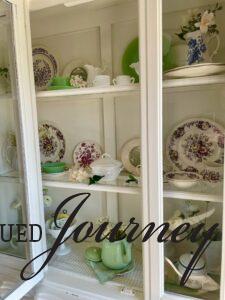
The pops of green and white mixed with all the pretty florals just makes my heart sing. It’s also super rewarding to see years of thrifted and antique finds all placed in one spot.
Decorating with vintage decor is my favorite hobby. This hutch is allowing my creativity to soar, giving me the freedom to broaden my decorating horizons.
Don’t be scared to try something new when decorating your home. I say ‘go for it!’ If you don’t like it, it can always be changed.
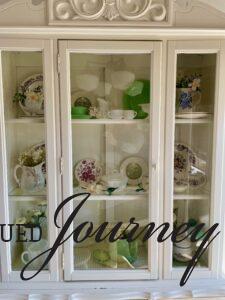
Closing Tidbits on Vintage Hutch Decor Ideas for Spring
I truly hope that these white hutch decor ideas for spring are helpful for you. When you can get your brain past the idea of the way something ‘should be’ and shift into the mindset of the way it ‘could be’, a whole new world is opened!
Be encouraged to find that which keeps moving you forward, slowly but surely, and broadening horizons along the way.

Leave me a comment below! Do you have a space in your home that you love to decorate for the seasons? I love to hear from you!

Just click on the red button in the left corner to save it for later!
If you are new here, I’m Rachel, the writer and content creator here at The Antiqued Journey. I’m so happy to have you! I encourage you to stop by the ‘about me’ page to get to know me a little more.
Here on the blog, you will find loads of inspiration for decorating with vintage and antique decor, simple DIY crafts and many thrifting adventures. If that interests you, I invite you to sign up for my e-mail. You will receive a free digital download as a thank you!
Follow Along with The Antiqued Journey
- The Antiqued Journey shop
- Check out my LTK shop!
Other Spring Posts to Enjoy
How to Decorate a Spring Cloche



28 Comments. Leave new
Oh Rachel, it looks so Springy and happy! No wonder you didn’t have time for anything else. Truly worth the time you used …..your creativity paid off!
It looks lovely Rachel! I am totally there with you about getting excited about these things. I love how you styled it and you have some beautiful pieces in the hutch. Enjoy it friend! XO- MaryJo
Thank you!! I appreciate it, friend!!
Your hutch looks amazing and I hear you on the amount of time it takes to get a hutch display tweaked “just right”. Of course I love the transferware, Rachel, and the pops of Jadeite green. Hope you have a warm and lovely weekend!
Hey Debra!
Thank you!! That’s such a compliment coming from you. Thanks so much for reading today!
Love the way your hutch came together, Rachel! It’s so pretty with all the layers of transferware, milk glass, and jadeite. It takes me FOREVER to style a hutch because one piece can throw the whole thing off balance but you make it seem easy! Hugs, CoCo
Thank you!! Ha! This was SO FUN but not easy. I would call it a super fun challenge 🙂 Thanks so much, CoCo!!
Can’t go wrong with milk glass and some great faux flowers! Looks nice and happy 🙂 Kinda jealous I don’t have my own to go decorate, lol. Enjoy your weekend!
Hi!!
Thank you!! I used to LOATHE faux flowers but now I LOVE them and don’t know what I would do without 🙂 Thanks for coming by today, Melanie!! Hope you have a great weekend!
Your “new” hutch is gorgeous, and it sounds like you had so much fun styling it! All of your amazing thrifted treasures look right at home! I always struggle with styling mine, so I enjoyed hearing your tips! Happy day!
Hello!
Thanks, Donna!! I appreciate it!! Have a great weekend!
Rachel! I love your new hutch too! You did a great job styling it with your china. The pastel hues and pretty florals are perfect for spring. I can’t wait to see how you style it as the seasons progress.
Hi!
Thank you!!!
Very nice hutch, Love how you used vintage plates. Great display!
Hi Vicki!
Thanks so much!! I appreciate your kind comment…thanks for stopping by today!
This hutch is gorgeous! And you have styled it so beautifully! I particularly love the milk glass pieces…always so pretty!
Hi Missy!
Thanks so much!! I appreciate it!!
How lovely! I loved the idea of placing linens at the bottom of the shelves to add a little something extra. I may definitely need to give that a whirl myself.
Rachel
http://www.raeelizabethdesign.com
Hi Rachel! What a lovely name 🙂
Thanks so much!! I’m so glad you found that to be helpful! I appreciate the lovely comment…thanks for stopping by!
[…] been on the hunt for neutral pieces that I can add to my hutch as well as items that can be used to decorate my home for Summer. Luckily, I have successfully been […]
[…] The honeycomb pattern on the glass itself is so cool! It’s texture, though subtle, really adds dimension to this middle shelf of my hutch. […]
[…] White Hutch Decor Ideas for Spring […]
[…] candlesticks are especially pretty when styled into a hutch, placed within a shelf vignette, or used on a dining […]
[…] candlesticks are especially pretty when styled into a hutch, placed within a shelf vignette, or used on a dining […]
[…] for the rest of the Winter season, I have it displayed in my hutch alongside some ironstone, restaurant-ware, and green trees. Come Spring, I will fill this beauty […]
[…] metal, flower frogs, milk glass, vintage enamelware and rusty tins. Join me as I transform my hutch from Spring to Summer and find simple ways of using these old pieces in beautiful Summer […]
[…] Spring, I hung this picture on the wall to the left of my new hutch. The flowers bring some much needed color to that […]
[…] the winter season, I stacked them all up on the middle shelf of my hutch. To add some winter flair, and a bit of texture against the all-white backdrop, I placed a handful […]