Last Updated on March 19, 2025 by Rachel
These DIY bunny ornaments for a show-stopping Easter tree are easy and budget-friendly!
Easter is right around the corner. Can you believe it?! In anticipation of this lovely Spring holiday, I wanted to infuse a little Easter decor into my home that feels grown up and chic. These handmade bunny creations are SO cute, perfect for adults of all ages. Come along as I share how to create DIY Easter crafts for adults in the form of bunny ornaments for a show-stopping Easter tree!
Adorable DIY Easter Tree Ornaments for Adults Made with Everyday Items
I’ve had a little bit of a lull in DIY creativity lately which I know happens to many of us from time to time. But, I wasn’t going to let that lull stop me from creating an Easter craft for my favorite holiday. After a little searching on the Internet, my creativity got rolling again.
The bunny ornaments I created are a combination of a few different ideas that I saw, but, as always, I added my own touch to them.
There are quite a few steps involved to make the bunny ornaments plus the tree itself, so I’ve broken it all down into simple and manageable parts.
Let’s get into it!
Materials Needed for DIY Bunny Ornaments
- hot glue gun and glue sticks
- bunny stencils
- flat wooden egg ornaments
- twine
- white rickrack
- craft paint in white, light pink, and light green
- foam paint dobbers
- paper plate
- scissors
Step by Step DIY Easter Crafts for Adults: Bunny Ornaments for a Show-Stopping Easter Tree
The process below is the tutorial for the bunny ornaments themselves.
As always, if something different works better for you, go for it! This is just a guide.
Step 1: Prepare Ornaments for Painting.
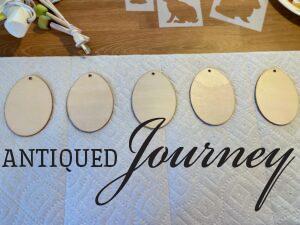
The first step is to prep the ornaments for painting. I simply laid out the number of ornaments I wanted to use on paper towels.
For me, an odd number of things always looks more pleasing to my eye, so I chose to use seven eggs.
Step 2: Choose a Stencil.
The stencils I used from Amazon, which I’ve linked above, are adorable.
I’m super happy with them.
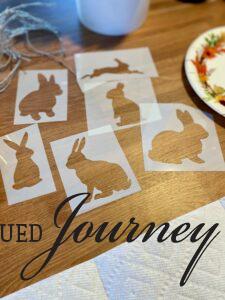
However, there were only three bunnies that would fit on the eggs, so those are the ones I used.
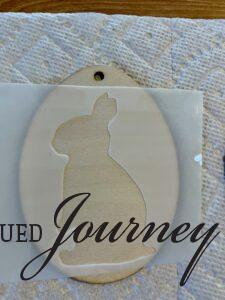
This is the one I started with.
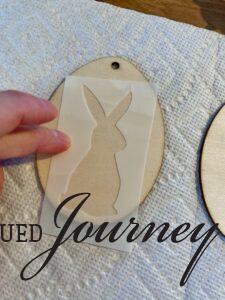
Then this one, which, you guys, looks more like Tilly (my dog) than a bunny and I LOVE it!!
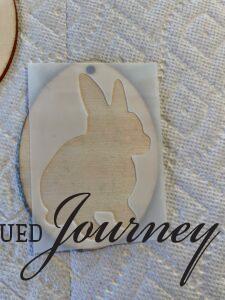
And this is the third stencil I used.
Look at the cute bunny sitting all proud!
Step 3: Pick Paint Colors.
Now that the stencils are ready, it’s time to choose paint colors.
To make it easy on myself, I used white for the first stencil, green for the second stencil, and pink for the third stencil.
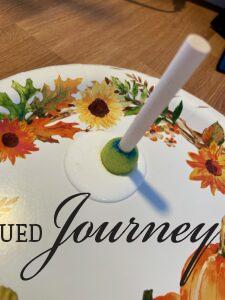
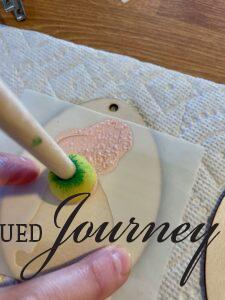
I personally like to use these foam dobbers when I am crafting with stencils. It just helps to get the paint inside the shape better than a paintbrush.
Here is the first bunny I started with using white paint.
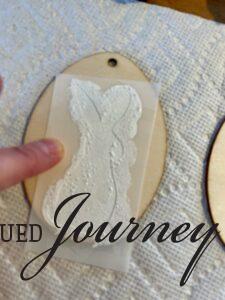
Step 4: Rinse and Repeat.
Then, I basically repeated this process using all three paint colors with the bunny stencils.
Here is the green stencil with the Tilly bunny 🙂
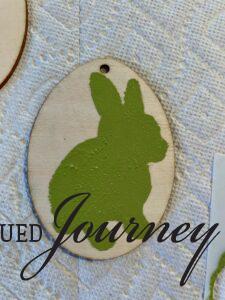
And here is the pink stenciled bunny.
I repeated these colors and bunnies until all of the ornaments were used.
Let them dry for a good 20-30 minutes.
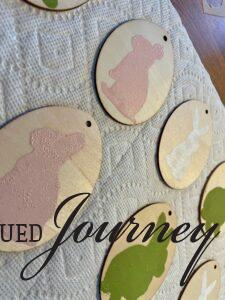
Then, since I was going to be hanging these bunnies on a tree for Easter, both sides are going to be seen. So, I stenciled the back sides as well, the exact same way as I did on the front.
Tip: If you are going to use these on a garland or something like that, you would only need to stencil on one side. You can also opt to paint the wooden egg ornaments a different color if you don’t want to see the wood color. That’s totally up to you!
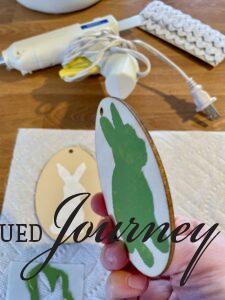
Step 5: Let Dry.
Once I finished the painting part, I let the bunny ornaments dry.
Meanwhile, I plugged in the hot glue gun to let it warm up for the next step.
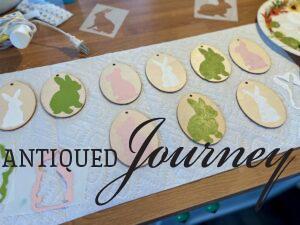
Step 6: Attach Rickrack.
Initially, I was going to use rickrack on each bunny.
However, after painting them, I realized that, if I glued rickrack to the green and white bunnies, you wouldn’t be able to see their ears, which totally defeats the purpose of using bunny ornaments in the first place.
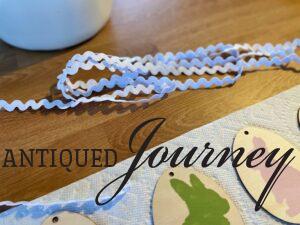
So, I ended up using rickrack on the white bunnies only, which worked out just fine.
First, I laid out the rickrack on top of the egg to measure how much was needed. I cut the end accordingly.
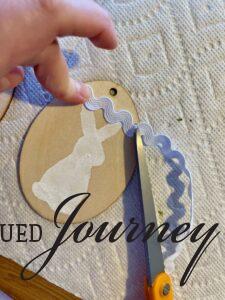
I repeated this process for the bottom of the egg.
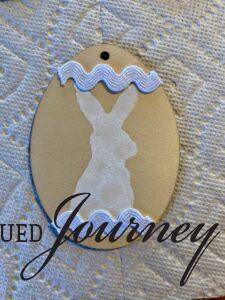
Then, I used my hot glue gun and glued both rickrack pieces down.
I repeated this process for the other two white bunny ornaments.
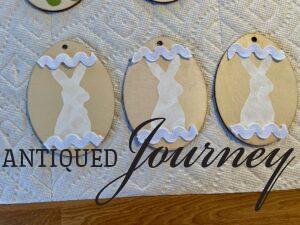
Again, these bunny ornaments are two-sided, so I did the same exact rickrack process on the back of each egg.
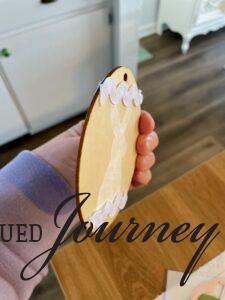
Step 7: Tie on Ribbon.
The last step for the bunny ornaments is to tie ribbon on each one for hanging.
Because I only used rick rack for the white bunnies, I decided that it would look a little more cohesive if I used the rest of the rick rack for the ribbon on the green and pink bunnies.
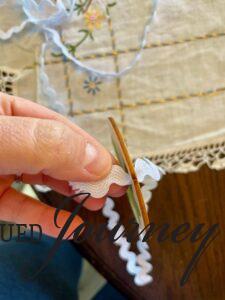
I simply cut a piece of rickrack to length, pulled it through the hole at the top of each egg, and knotted it.
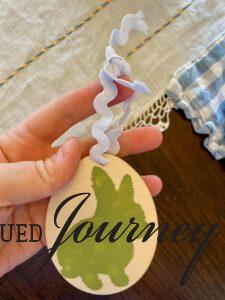
This process was repeated for all of the green and pink bunnies.
For the white bunny ornaments, I used twine as the ribbon for hanging.
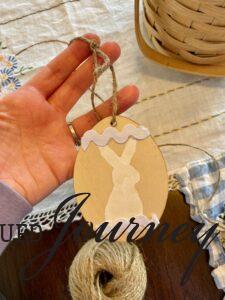
At this point, I had a pretty pile of bunny ornaments that are ready to be placed on my Easter tree!
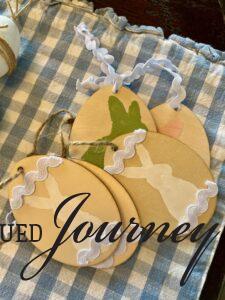
But, before we do that, we need to assemble the tree.
Making the DIY Easter Tree
The items below are the materials I used to build the actual tree part of this project.
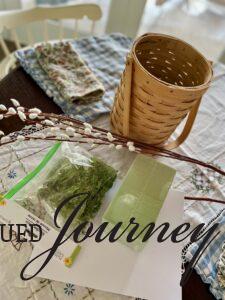
Materials Needed for DIY Easter Tree
Below are the steps for putting together the tree elements so that you have a tree to hang the bunnies on!
Step 1: Place Floral Foam in the Basket.
For the base of my tree, I am using a $2 thrifted basket. Try and find a vessel that has higher sides on it so that it’s sturdy enough to hold everything in place.
For this first step, I placed 4 small blocks of floral foam in the bottom of my basket.
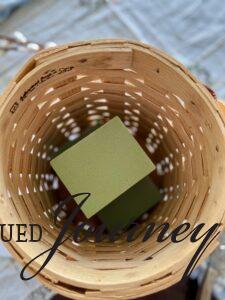
Step 2: Cut the Stem and Place in Floral Foam.
The pussy willow stem is super long and would make the tree stand way too tall. So, using a floral wire cutter, I cut off a portion of the stem, making it a tad shorter.
After that, I pushed the stem in, all the way to bottom of the floral foam.
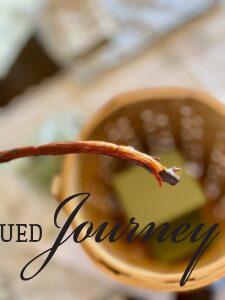
Then, to help the foam and stem stay in place, I simply crumpled up some paper and stuffed it into the cracks.
You can really stuff the paper all around the sides, helping to stabilize the tree.
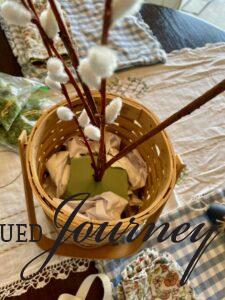
I should mention here too that this is a good time to maneuver the branches the way that you would like them. This takes some finagling but give yourself a few minutes and the branches will cooperate 🙂
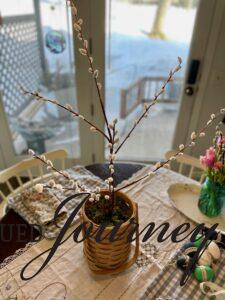
Step 3: Add Faux Moss.
Then, to cover the paper and the foam, I added faux moss.
The moss I had on hand is reindeer moss but any type of faux or dried moss will do the job.
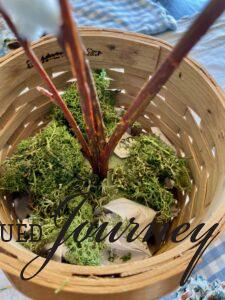
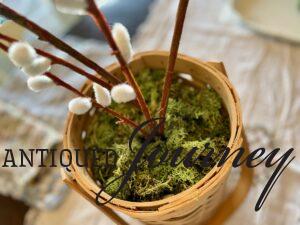
I kept adding moss until the base was covered.
Doesn’t the moss in combination with the basket look so pretty?!
Assemble the DIY Easter Tree
Okay! Now that we have all of the elements finished, we can assemble the tree using the bunny ornaments!
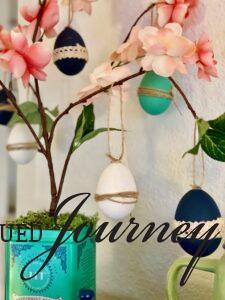
There is no right or wrong way to do this. I simply spaced out the ornaments amongst the tree, making sure that two of the same color were not next to each other.
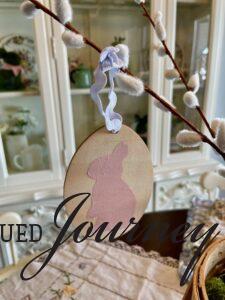
Take your time placing the ornaments and be proud of what you’ve created!
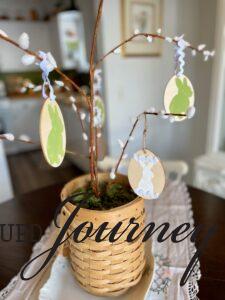
How to Style a DIY Easter Tree Display
There are many options as to where you can place the finished Easter tree. This tree would look lovely on an entry table, on a coffee table, or displayed on a credenza with other Easter or Spring decor.
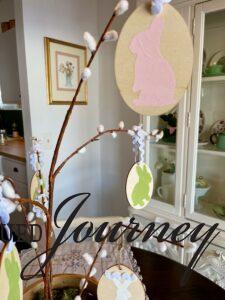
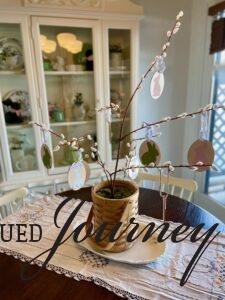
Initially I had the Easter tree on my dining table, placed on top of my favorite ironstone platter.
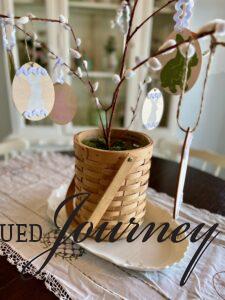
However, even though I loved the way it looked with my new hutch in the background, I quickly realized this was not functional since we eat here for each meal.
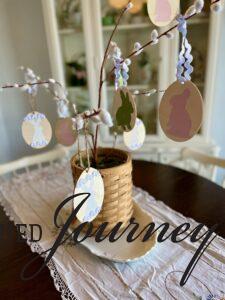
So, I moved it to the wall shelf, which I just styled. You can read my simple shelf styling tips here!
After moving a few items around, the tree was able to fit nicely on the left side of the shelf. It anchors the whole display beautifully!
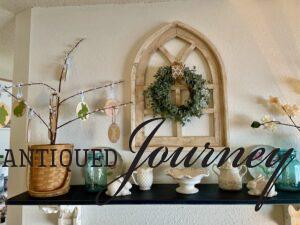
Even though this Easter tree DIY was a little more involved than I thought it would be, I love how my bunny ornaments turned out.
The little bunnies are so cute and tie in perfectly with the other bunnies on the shelf.
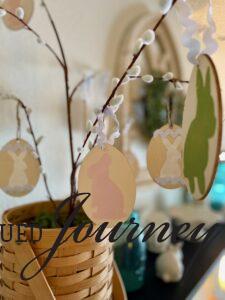
The mix of the wood from the ornaments and the basket paired with the softness of the ribbon and moss make this tree truly feel like Easter.
Closing Tidbits on DIY Easter Crafts for Adults: Bunny Ornaments for a Show-Stopping Easter Tree
I sincerely hope these DIY bunny ornaments for a show-stopping Easter tree are encouraging for you and are eager to create some for your own home! Sometimes things don’t go as planned, which is never fun, but maybe it’s all a blessing.
I hope you can find the unexpected blessings in your daily living and be thankful for the setbacks that turn out to be just what you needed!

Leave a note for me down below in the comment section. I love hearing from you!!

Just click the red button in the left corner!
If you are new here, I’m Rachel, the writer and content creator here at The Antiqued Journey. I’m so happy to have you! I invite you to stop by the ‘about me’ page to get to know me a little more. Here on the blog, you will find loads of inspiration for decorating with vintage and antique decor, simple DIY crafts and many thrifting adventures. If that interests you, I invite you to sign up for my e-mail. You will receive a free digital download as a thank you!
Follow Along with The Antiqued Journey
- Explore The Antiqued Journey shop
- Find exclusive content in my LTK shop!



20 Comments. Leave new
Rachel!! I love these! And I think I have everything to make them. The girls are gonna love this!! They always ask me off they can paint!!!
Hi!
Thank you!! I’m so glad…let me know how they turn out for you!!
Hi Rachel! Your bunny ornaments turned out so cute! I love the addition of the rickrack, it’s perfect on the eggs! Great idea to use pussy willow instead of a plain branch! I can’t believe Easter will be here so soon!
Hello!
Thanks so much, Donna!!
Oh my gosh, Rachel, this is so cute! I literally just added an Easter tree to my Pinterest board to do next year because I’ve seen so many festive ones this year. I haven’t seen one that looked like this though so I’ll definitely be pinning this too. It’s fantastic! I’ll share it tomorrow on my From the Front Porch post as well. Big hugs, CoCo
Hello!
Thanks so much!! I appreciate your kind words, CoCo!! Thanks so much for sharing!!
Rachel,
Your egg ornaments came out so cute. Sometimes I get in a creative funk too. What a great budget friendly DIY. I love your new hutch in the background too. But yes a home must be functional too. Great job my friend-Meagan
Thanks, Meagan!! Thank you for noticing my hutch 🙂
PS: We always sing “He Arose” on Easter Sunday and I can still hear my Granny’s voice too, it’s the best 🙂
Awww I LOVE it!!! How special 🙂 thanks so much for sharing with me!!
Rachel – These stenciled bunnies are adorable. I also love how you displayed them. This is such an approachable project that can have a big impact. Thanks for the tutorial. Pinned!!
Hi!
Thank you!! I appreciate your kind words!
[…] Bunny Easter Tree Ornaments Thrifted Goodies Volume 9- Spring […]
Love your sweet tree and ornaments! I am happy to feature you at this week’s TFT. Happy Easter!
Thank you, Amber!! Happy Easter!
[…] budget-friendly Easter decorating, using items that you already have around the house is incredibly rewarding. Come see how I used […]
Super cute Rachel! The Tilly bunny is the best. 😀 XO- MaryJo
Thank you!! I know, right?! That was just a happenstance and I love it 🙂
[…] Last Tuesday, I shared an updated post on how to make the cutest DIY bunny ornaments for Easter! […]
[…] So why not the adults? Check out the DIY bunny ornament Easter tree from Rachel at The Antiqued Journey. Looks like a lot of […]