Last Updated on October 23, 2024 by Rachel
With the fall season quickly approaching, I want to share with you how to create a fall centerpiece!
Fall is such a cozy time of year. For your home, it’s a time to switch out bright and airy summer decorations for more subtle, muted tones. Fall is also a gathering time around the table, for enjoying warm meals and sharing joy during this new season. Join me as I show you how to create a fall centerpiece for your table to help you enjoy your time spent around it.

Materials to Gather for a Fall Centerpiece
- a vintage table linen (optional)
- a tray or pedestal
- faux fall stems
- jars, crocks, glass bottles, or jugs
- fall fillers such as wood rounds, plaid fabric, faux pumpkins, etc…
- floral cutter (optional)
How To Create A Cozy Fall Centerpiece
First, gather pieces from around your home that you think could be used in a fall centerpiece display. Think about the size and shape of the table that you want to create the centerpiece for.
Ask yourself questions like “How tall or short do I want this to be?”, “What colors would look pretty here?”, or “What can I use that would make this centerpiece feel cohesive?”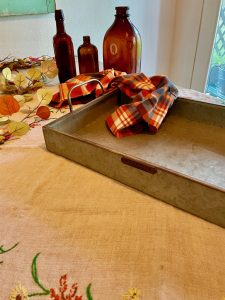
Next, source a table linen.
Using a vintage linen in your display adds a soft layer of texture. That could be a table runner, table cloth, or something along those lines.
Before going to buy one, look around your house and see if there is anything you have already that you could use. If you need to buy one, my suggestion is to check your local thrift stores. You can find vintage linens there for just a few dollars.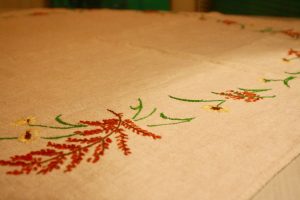
Then, begin with a base.
This is the piece that will hold everything. For me, that is this galvanized metal tray that I’ve had for years. It’s been so many places in my home and has held many different items but it seemed like the perfect base piece for my fall centerpiece.
It has that vintage yet rustic feel that I’m going for in my home this season. Some other options you can try include wooden dough bowls, wooden pedestals, or vintage troughs.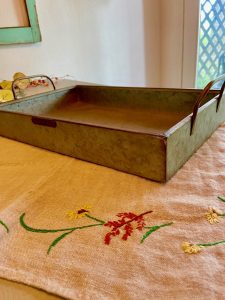
After that, start arranging the decor pieces.
This includes anything that will be sitting in or on your base piece. These can range from jars, vases, crocks, bowls, and the like.
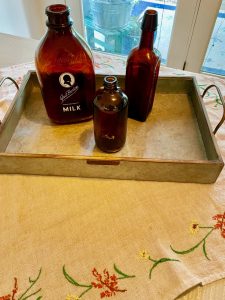 I’ve been collecting amber colored glass bottles from thrift stores and antique stores over the few months or so because I really love how they pair with my copper collection in the kitchen.
I realized a few weeks ago how pretty they would look as part of a fall display! And they do.
The rust-like color of the amber glass looks so beautiful against the galvanized tin.
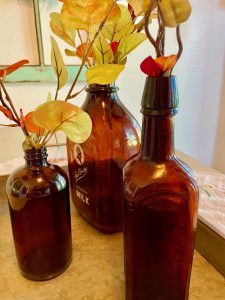
I really only needed 3 of these bottles in my tray. Anything more than that would have felt too cluttered. It is really pleasing to my eyes how the different heights and shapes of the bottles all look together.
When you are arranging your pieces, try and vary the heights and shapes of what you are using. In doing so, it creates a more dramatic and interesting centerpiece rather than everything being the same.
Next, add low layers.
This step basically allows you to fill in the bottom part of your base piece. You can get super creative with this and use items that exude fall.
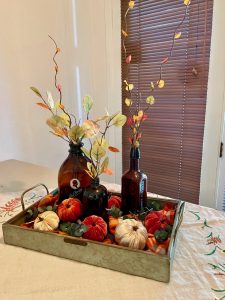
I used a leftover piece of plaid fabric and simply laid it around the base of the jars.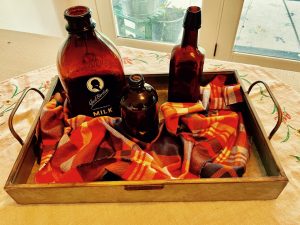
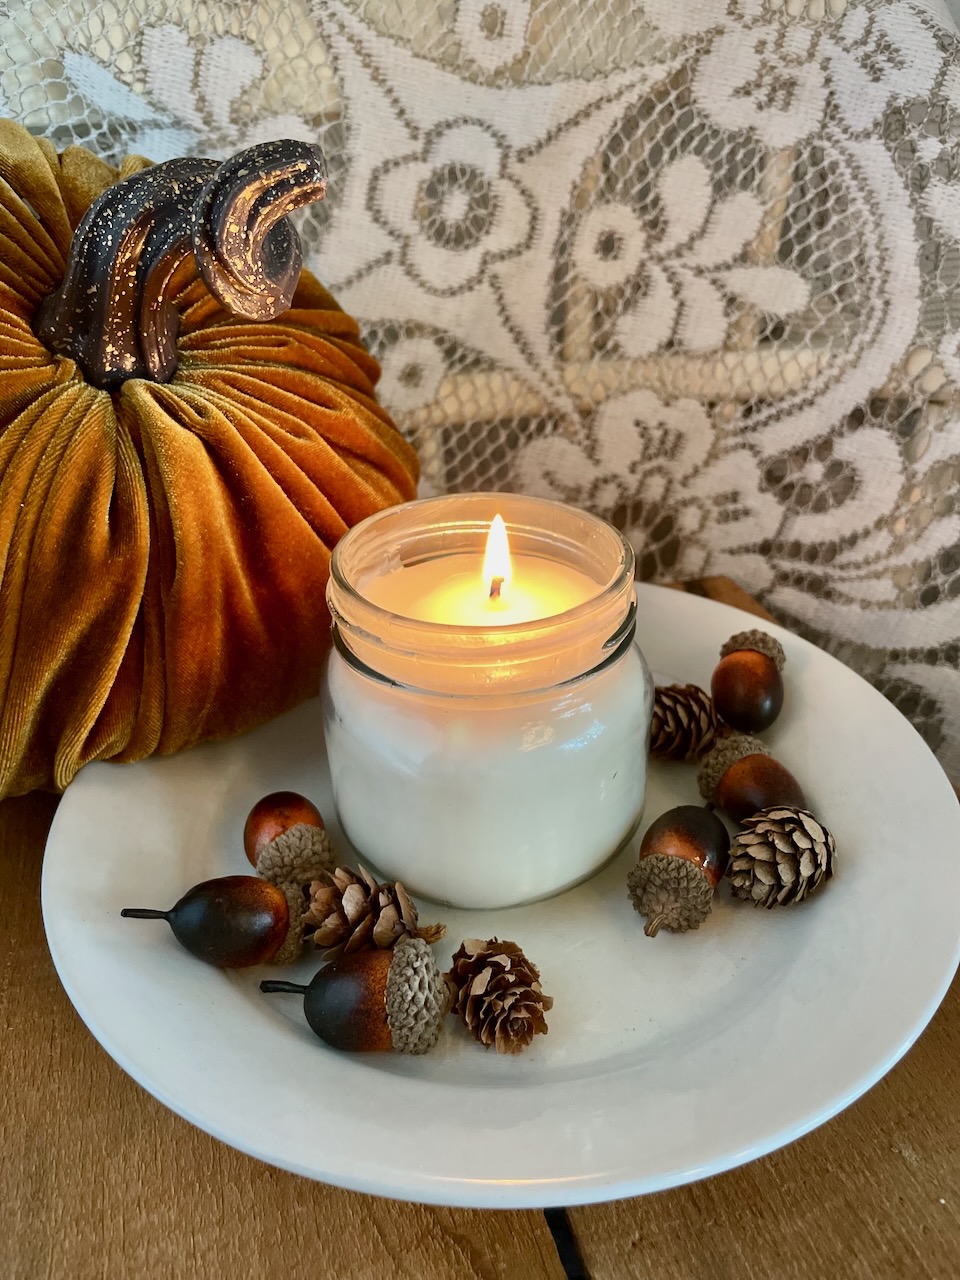
Then, I placed little velvet pumpkins on top of the fabric.

To complete the look, I placed dried eucalyptus stems throughout.
Layers of texture is the key to creating a standout centerpiece. Other things that might work well include

Last, add fall stems.
This is my favorite step because it really helps to tie everything together. You can choose to do this step in one of two ways.
1) Go out to your yard and clip a handful of small fall tree branches. It would be ideal if the branches have red or yellow leaves on them! You can also cut fall flowers if you have any such as mums or fluffy grasses.
Then, fill jars or whatever you used for your centerpiece with water and arrange your cut stems.
2) Use faux fall stems. I choose this option because, for me, it was just easier. You can find pretty realistic stems these days at the craft supply store.
My advice for choosing faux stems is to buy them when they are on sale and pick a variety of them. Find stems that have a similar color palette but different textures.
I usually piece together a bouquet of them as I’m finding them. Once there are enough, I weed out the ones that don’t pair nicely with the rest.
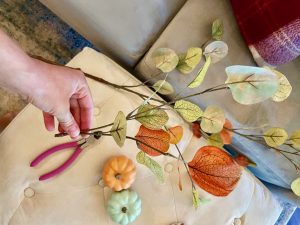
Once you get home with your faux stems, you will need to use a floral cutter to cut the stems apart. I usually cut them apart into small sections and then arrange them.
There is not really a rule to arranging faux stems. Just go with what looks nice to you and the aesthetic you are trying to achieve.
Closing Tidbits on How to Create a Fall Centerpiece
There you have it! I hope this tutorial on how to create a fall centerpiece is an inspiration for you. It doesn’t need to be complicated or expensive. In fact, the simple centerpieces are often the most beautiful.
I hope you find that eagerness inside you to create a fall centerpiece that can be enjoyed year after year.

Let me know in the comments what you would like to use in a fall centerpiece. I love hearing from you!


If you are new here, I’m Rachel, the writer and content creator here at The Antiqued Journey. I’m so happy to have you! I encourage you to stop by the ‘about me’ page to get to know me a little more.
Here on the blog, you will find loads of inspiration for decorating with vintage and antique decor, simple DIY crafts and many thrifting adventures. If that interests you, I invite you to sign up for my e-mail. You will receive a free digital download as a thank you!
Follow Along with The Antiqued Journey
- The Antiqued Journey shop
- Shop exclusive content in my LTK shop!


5 Comments. Leave new
[…] How To Create A Fall Centerpiece […]
[…] can pop a few faux stems of greenery in them for an instant centerpiece, use a vase for height in a vignette, or on a bathroom counter as a welcoming display. There’s […]
[…] you have it! I am beyond happy with how this fall centerpiece with amber bottles and brass turned out. Who knew that an old scarf could gift me such lovely ideas! To me, this […]
[…] Next, I started pulling in various vintage decor pieces. This step is basically trial and error, although there are some elements that I look for when putting together a centerpiece. […]
[…] Vintage Fall Centerpiece […]