Last Updated on October 18, 2024 by Rachel
Let’s craft Christmas memories with homemade clay ornaments!
I put up a second Christmas tree this year and ran out of ornaments to put on it! Not wanting to go spend money on more ornaments, I decided to make some. The raw texture of the clay is organic and pliable, making it easy to press any type of holiday design into it. The finished product was exactly what I had in my head the whole time and I just love how simple they are. Follow along today as I show you how to make these homemade clay Christmas ornaments!
Gather Your Supplies: Materials Needed for Clay Ornament Creation
- white oven bake clay
- small Christmas stamps
- ribbon
- scissors
- a ruler
- rolling pin
- parchment paper
- a baking sheet
- a circle cutter
- a skewer
- an oven
- oven mitt and hot pad
- tin foil
Homemade Clay Christmas Ornaments
*Before you start the steps below, pre-heat your oven to 275 degrees or whatever your clay package says. Then, line a baking tray with one sheet of parchment paper and set aside.*
1.Pull Off a Medium Sized Chunk of Clay.
Roll it around in your hands for a few minutes to get it warm. The clay is easier and a little more flexible to work with if it is slightly warm.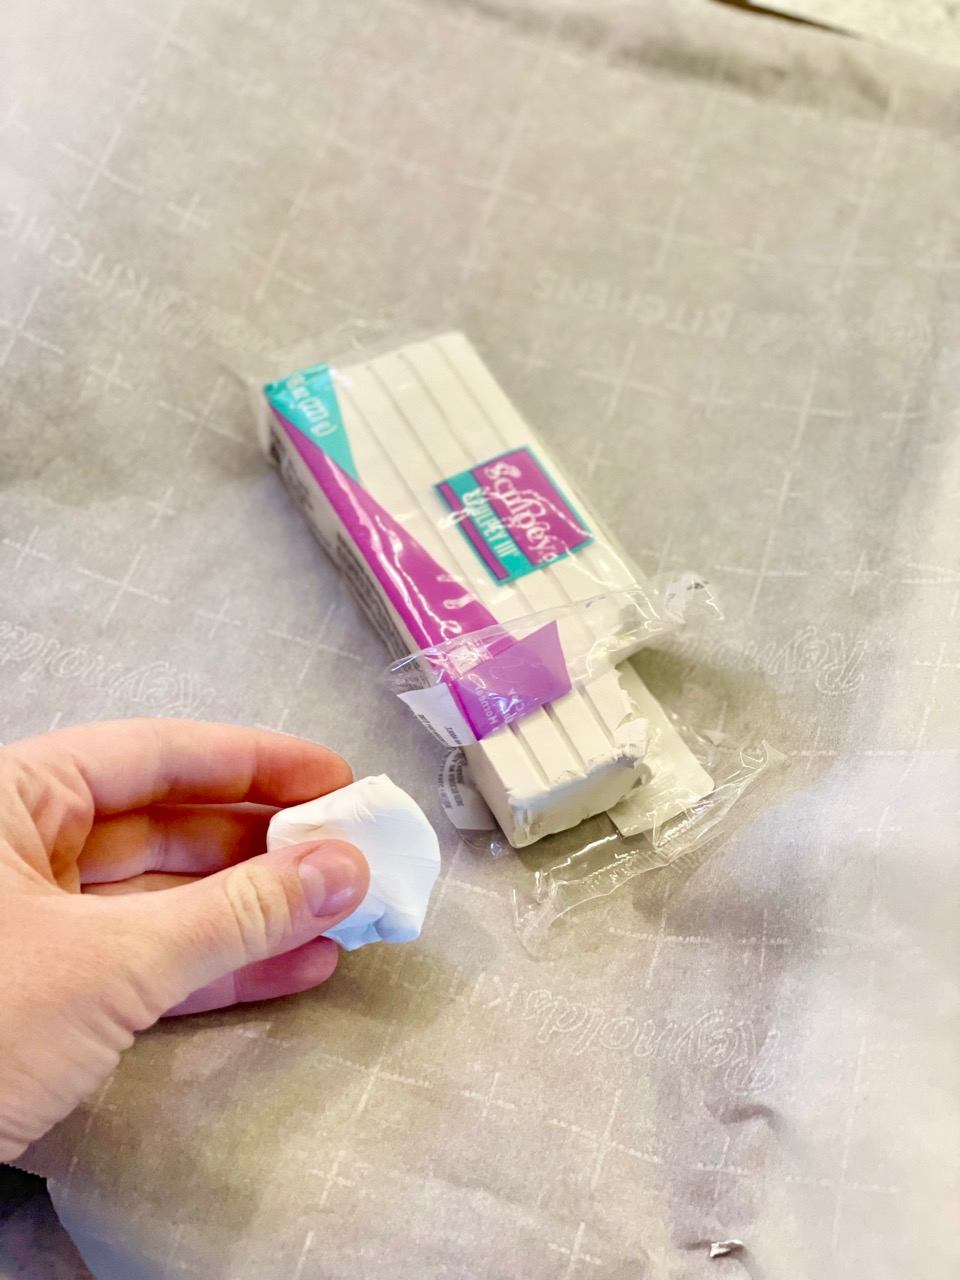
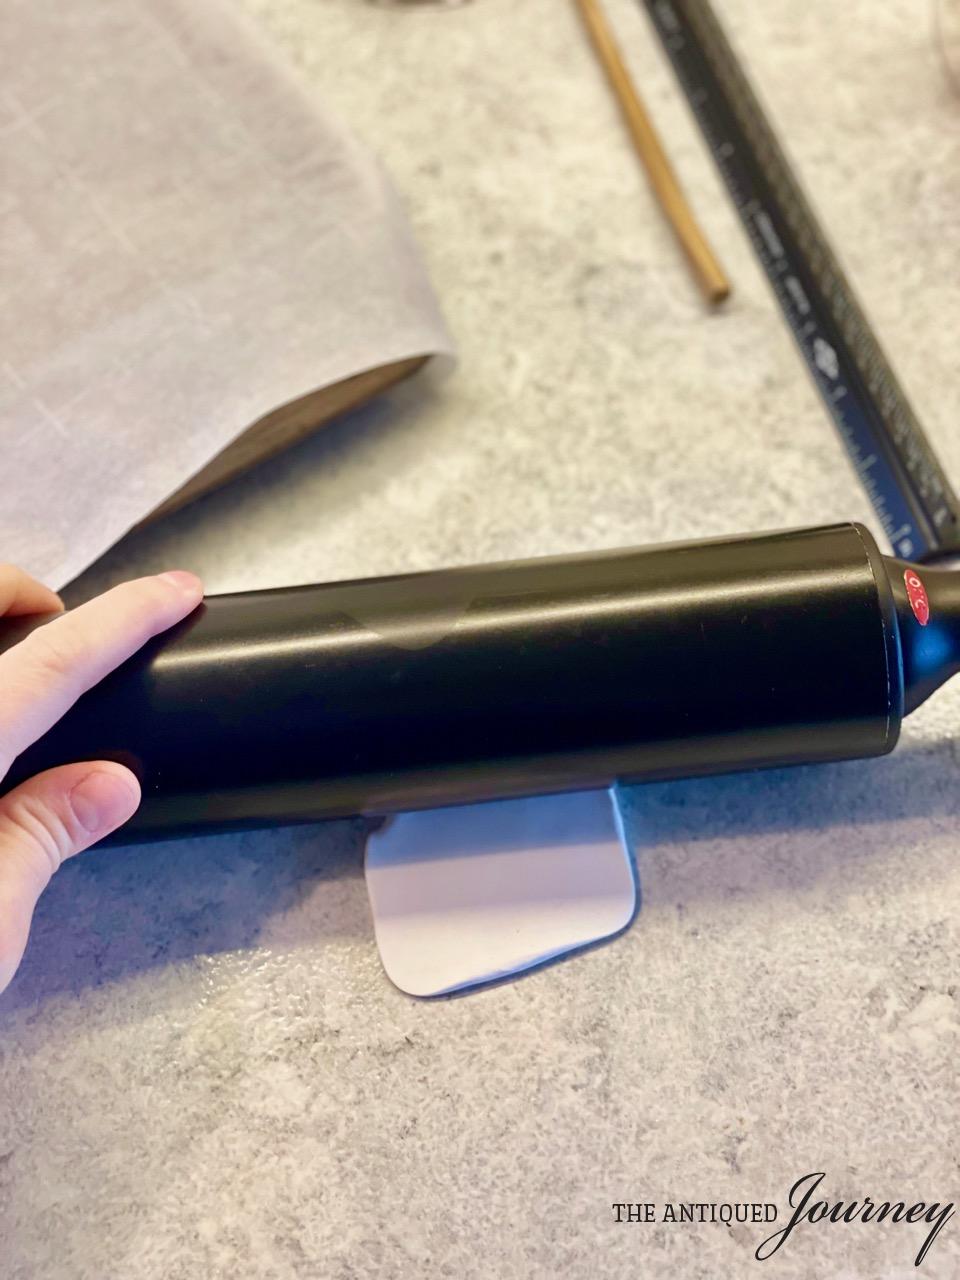
2. Roll Out That Piece of Clay Using a Rolling Pin.
Roll it out to about 1/4 inch thickness or what the clay package directions say.
Tip: Be sure to have a large enough surface area on the clay so that you can press the circle cutter without going off the edges.
Tip: The clay might start sticking to the counter after a little while like mine did. To help with this, you can tape a large piece of tin foil to your counter and roll out the clay on that.
3. Press The Circle Cutter Into the Clay.
I used a drinking glass to make my circles.
The circumference of the circle was the exact size I was going for.
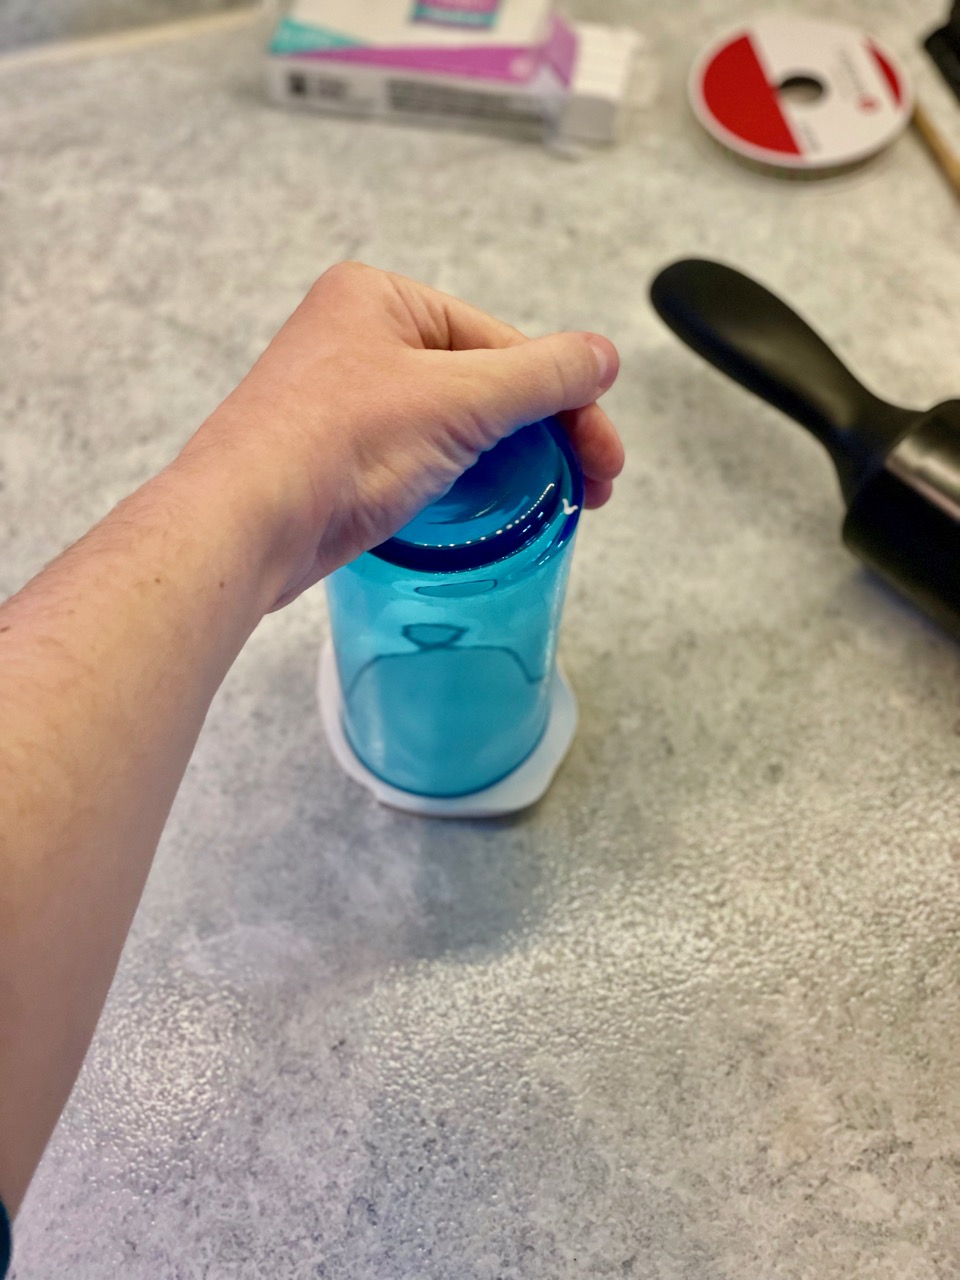 You could use a cookie cutter, a biscuit cutter, a small Pyrex glass bowl, etc…Find something you already have that works and use it!
Apply a bit of pressure to make sure you get a clean cut.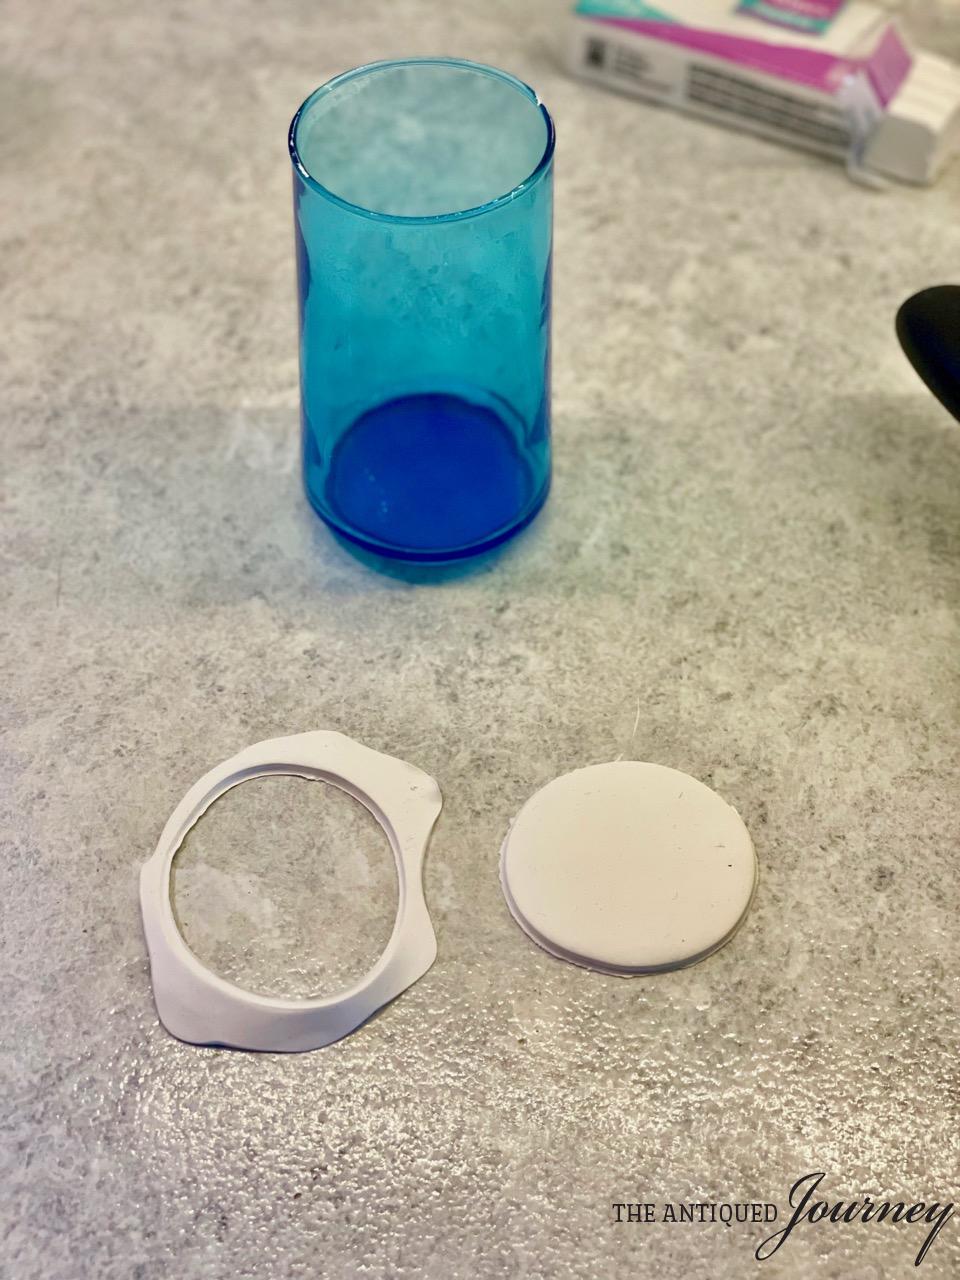
4. Then, Choose a Stamp and Press It Firmly Into the Clay.
I chose to place my stamp right in the middle of the circle.
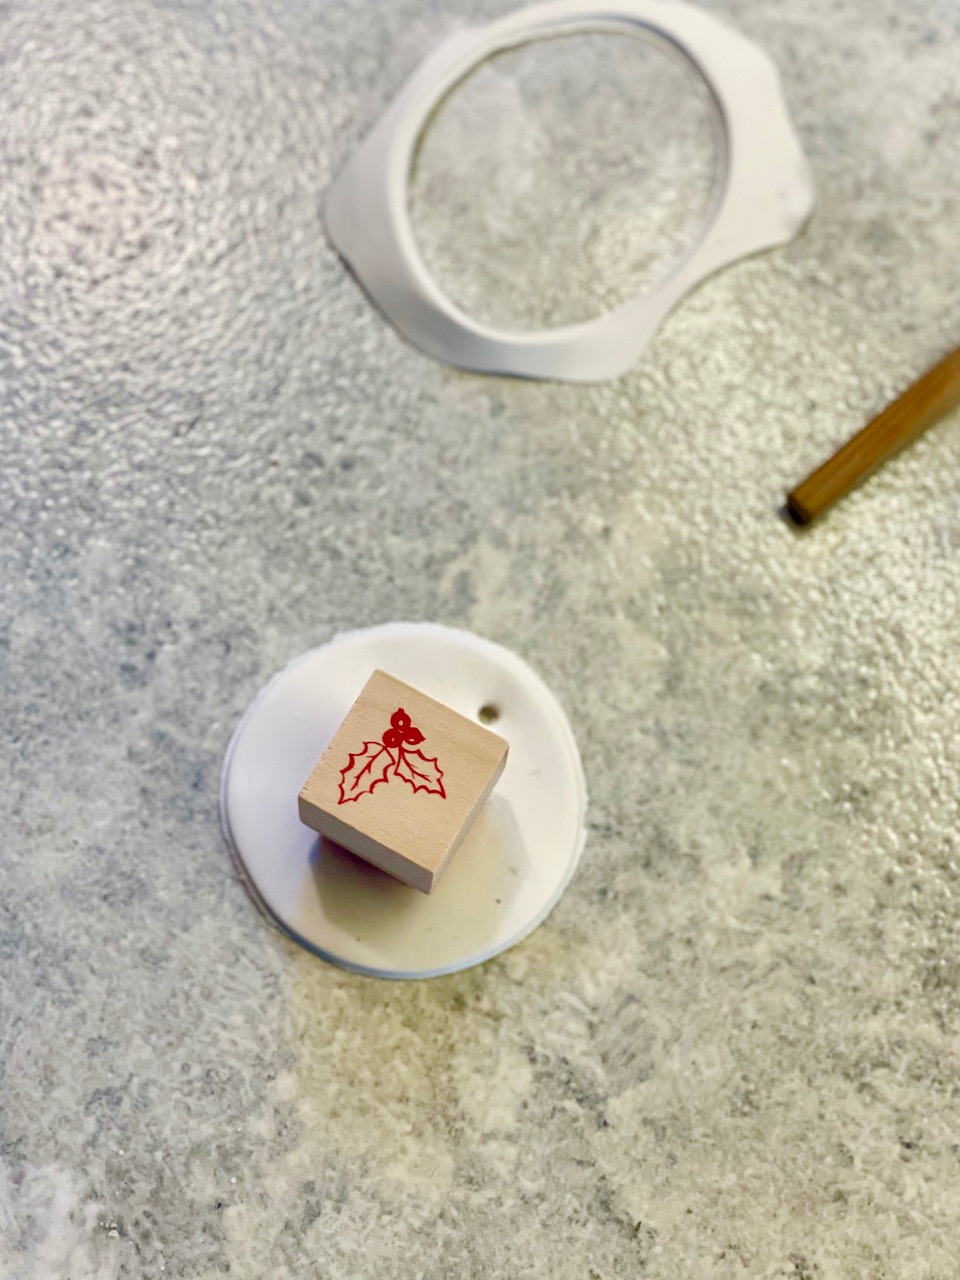 Tip: Press firmly but not too hard so that you don’t get too much of the square edge from the stamp.
Your ornament will look something like this after you stamp it.
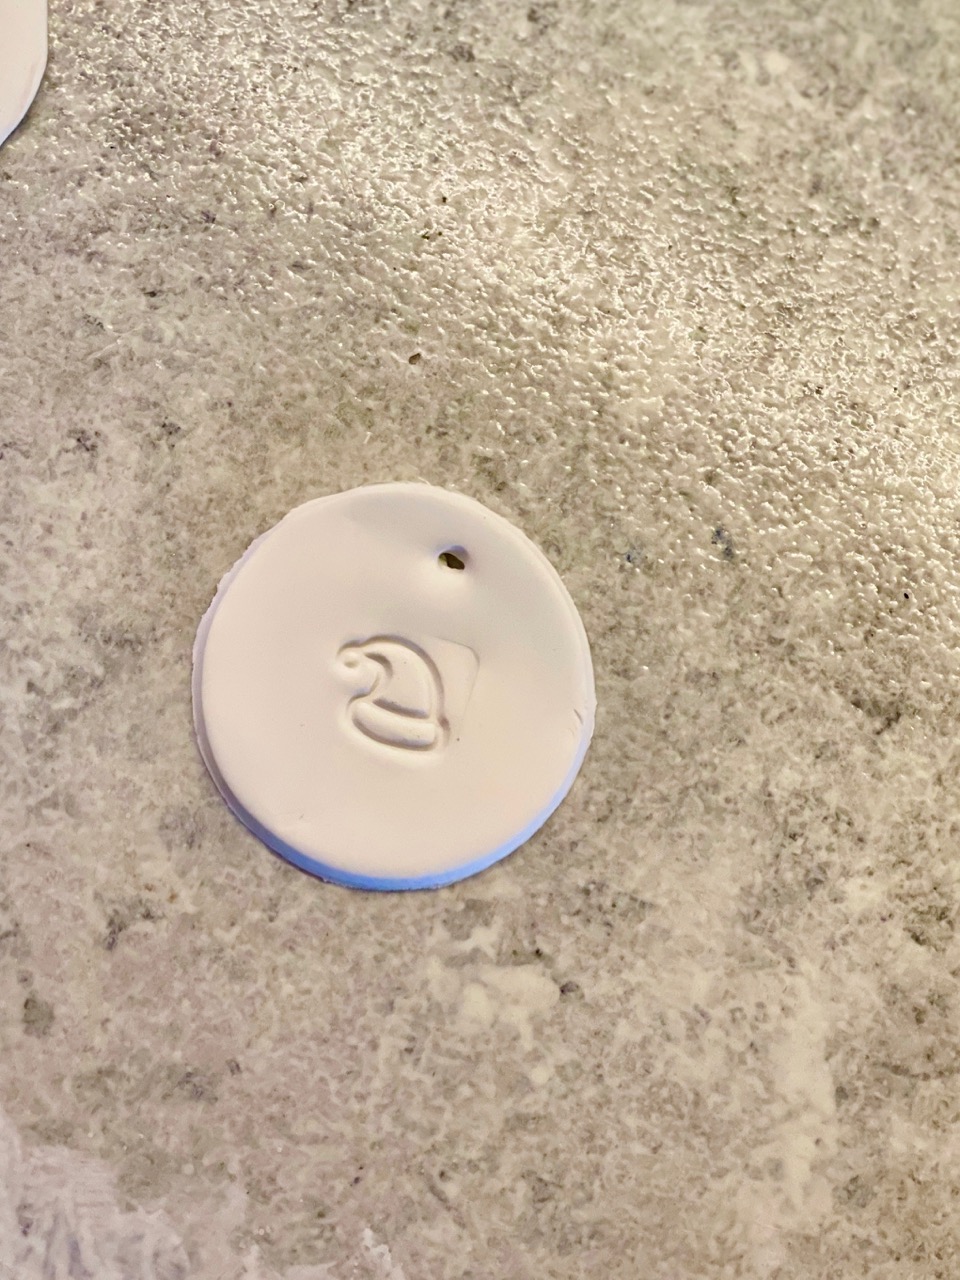
5. Poke a Small Hole Near the Top.
This is for the ribbon to go through.
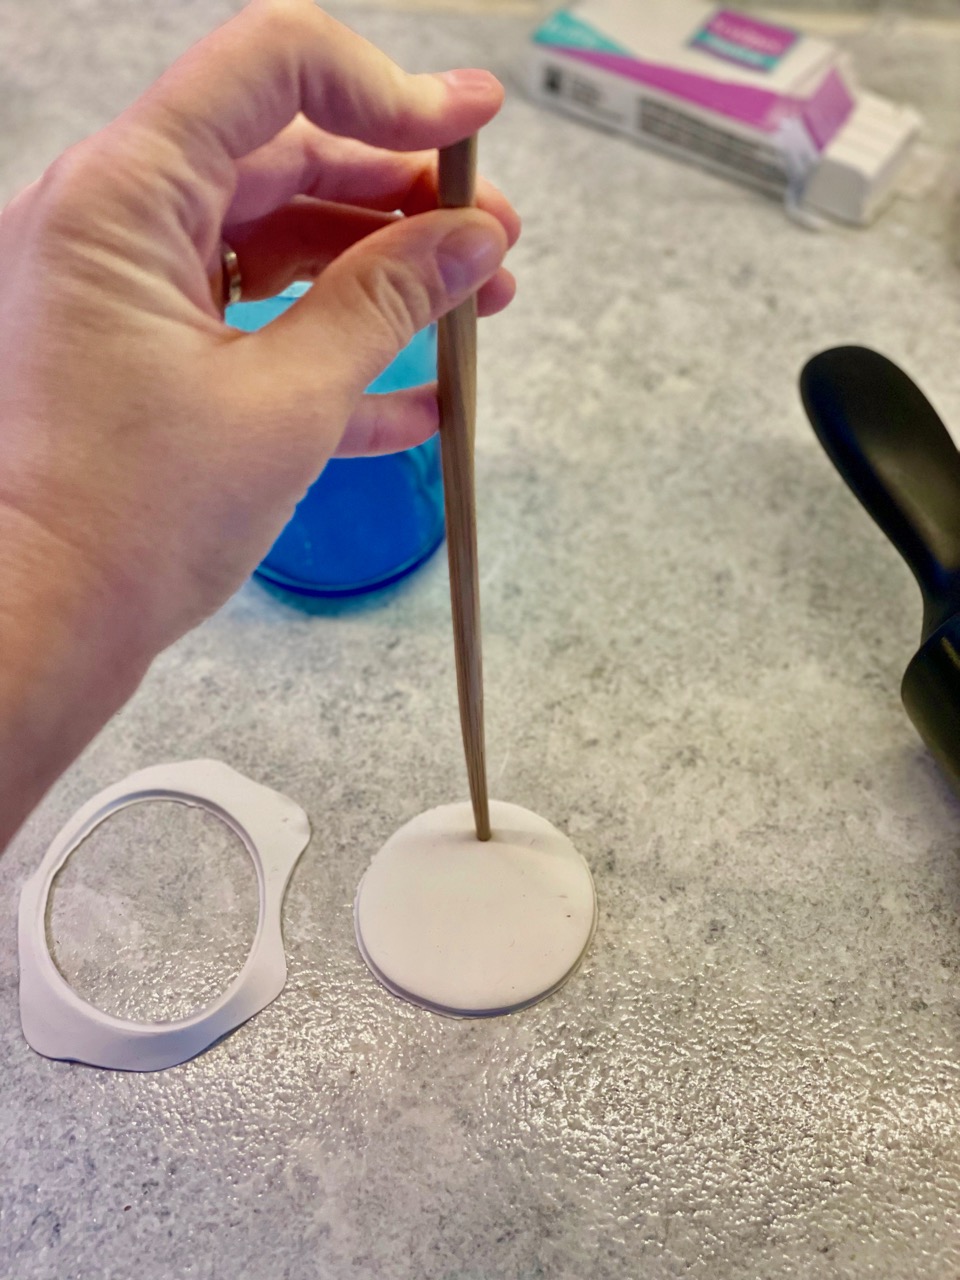 I used a wooden skewer to do this part but you could also use a straw or the tip of a pencil.
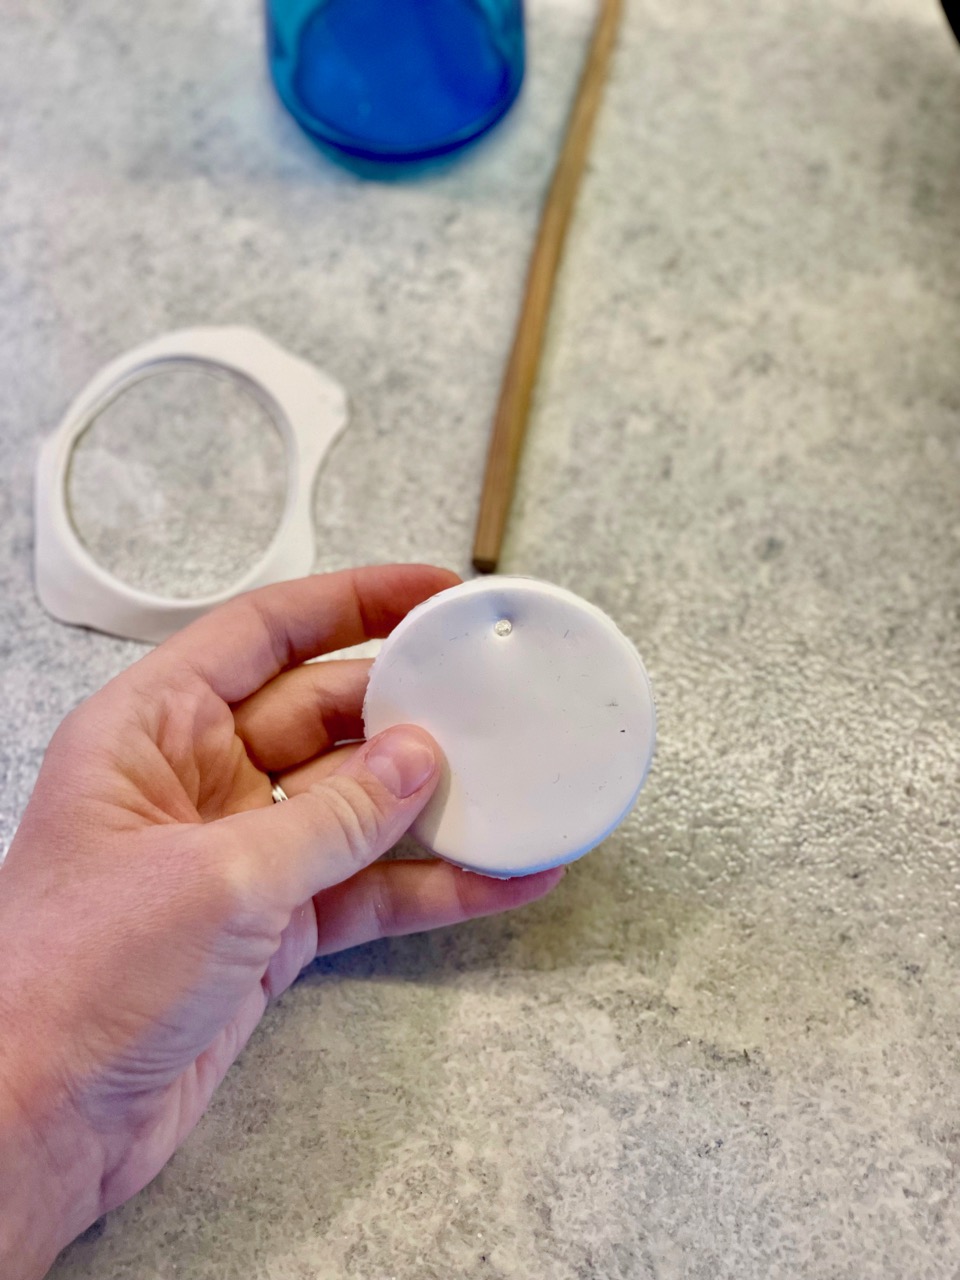
6. Place Ornament On the Prepared Baking Tray.
Repeat the steps above until you have a full baking tray.
I got 14 ornaments out of the one pack of clay so I baked seven at a time.
Place in the oven and bake for roughly 13 minutes. Bake times will vary depending on your oven.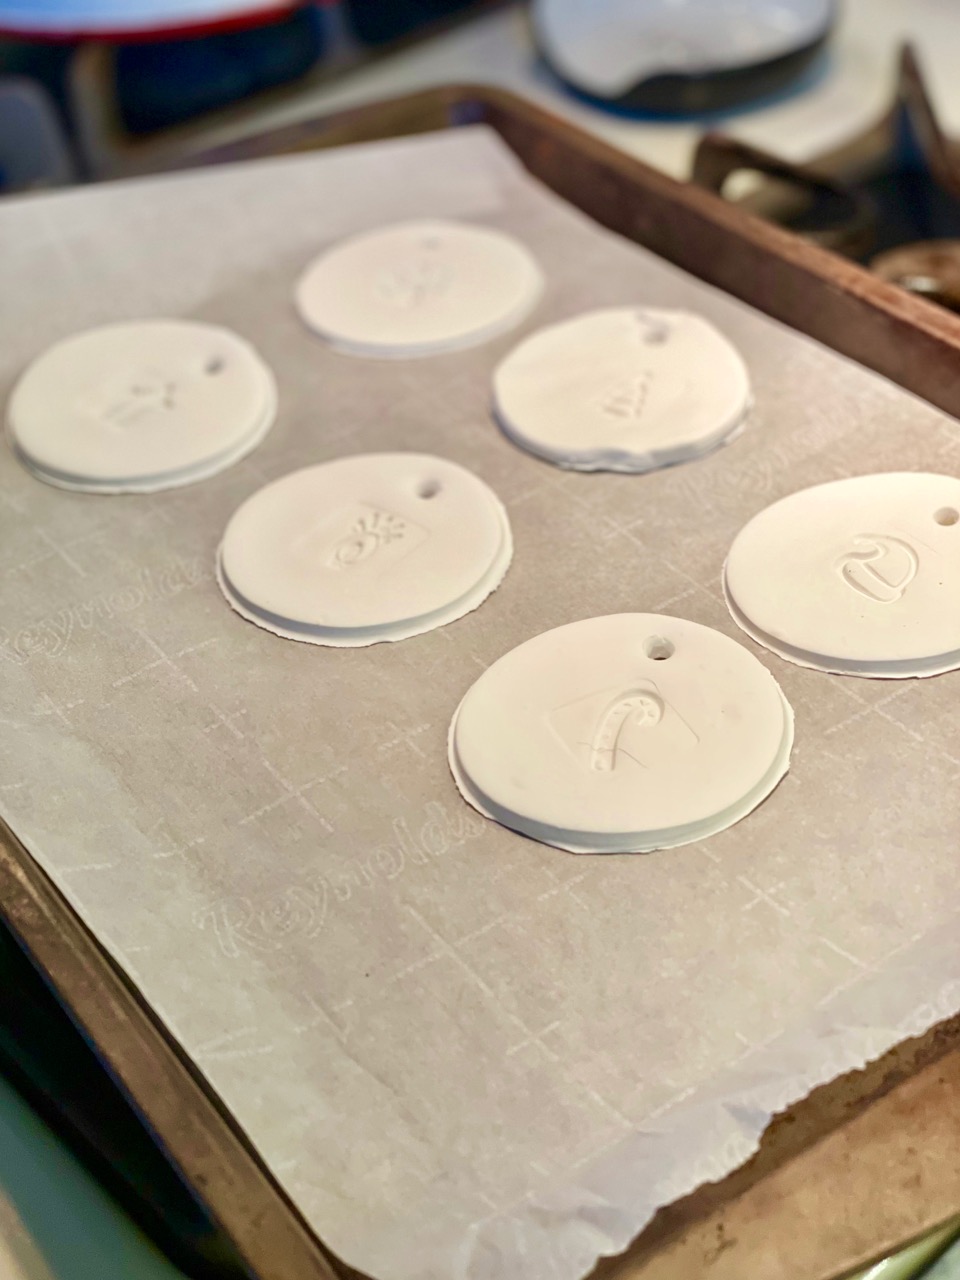
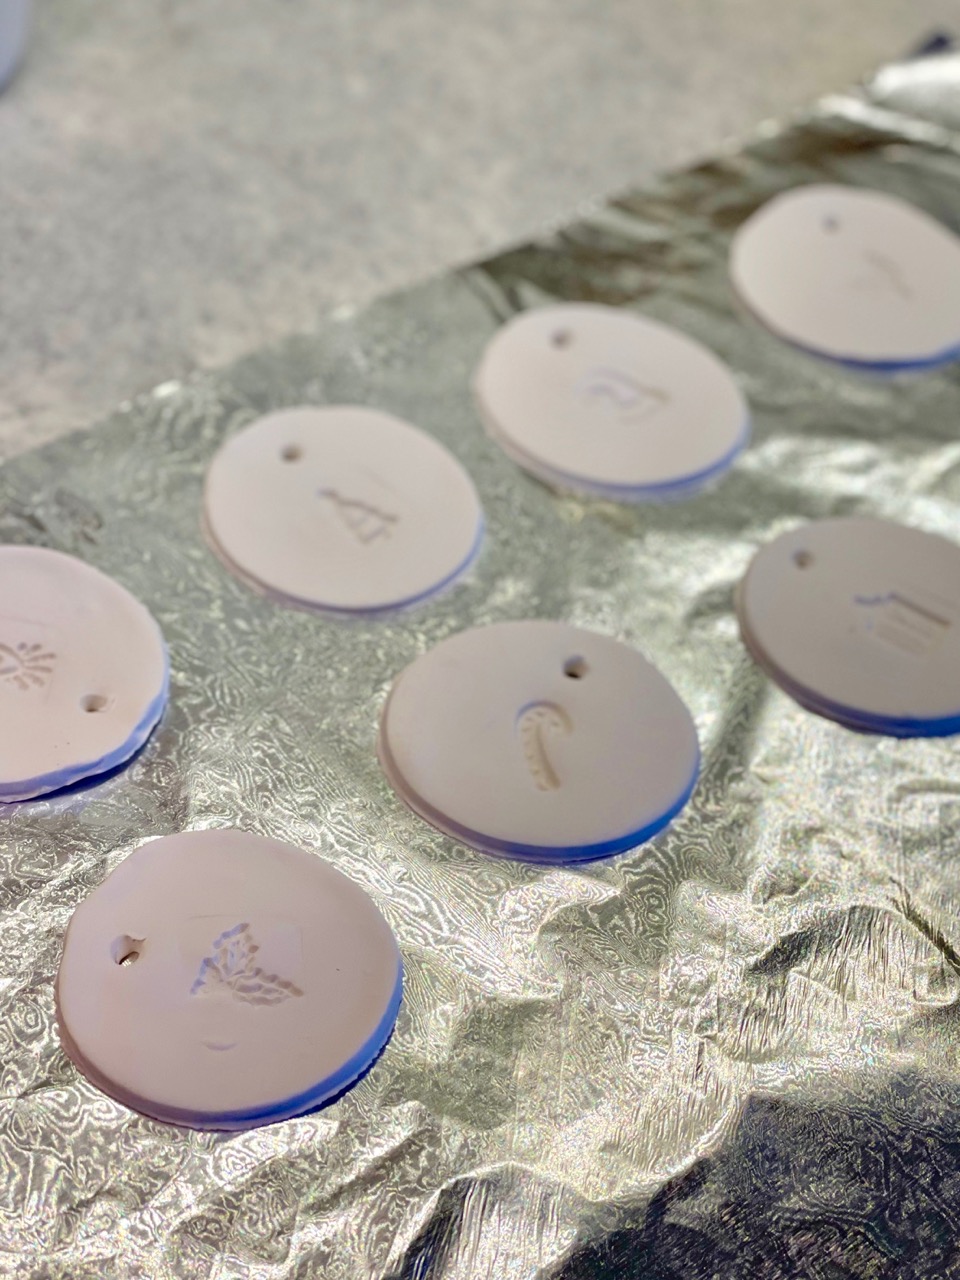
7. Place Them on Foil to Cool.
Let the ornaments cool for about 30 minutes.
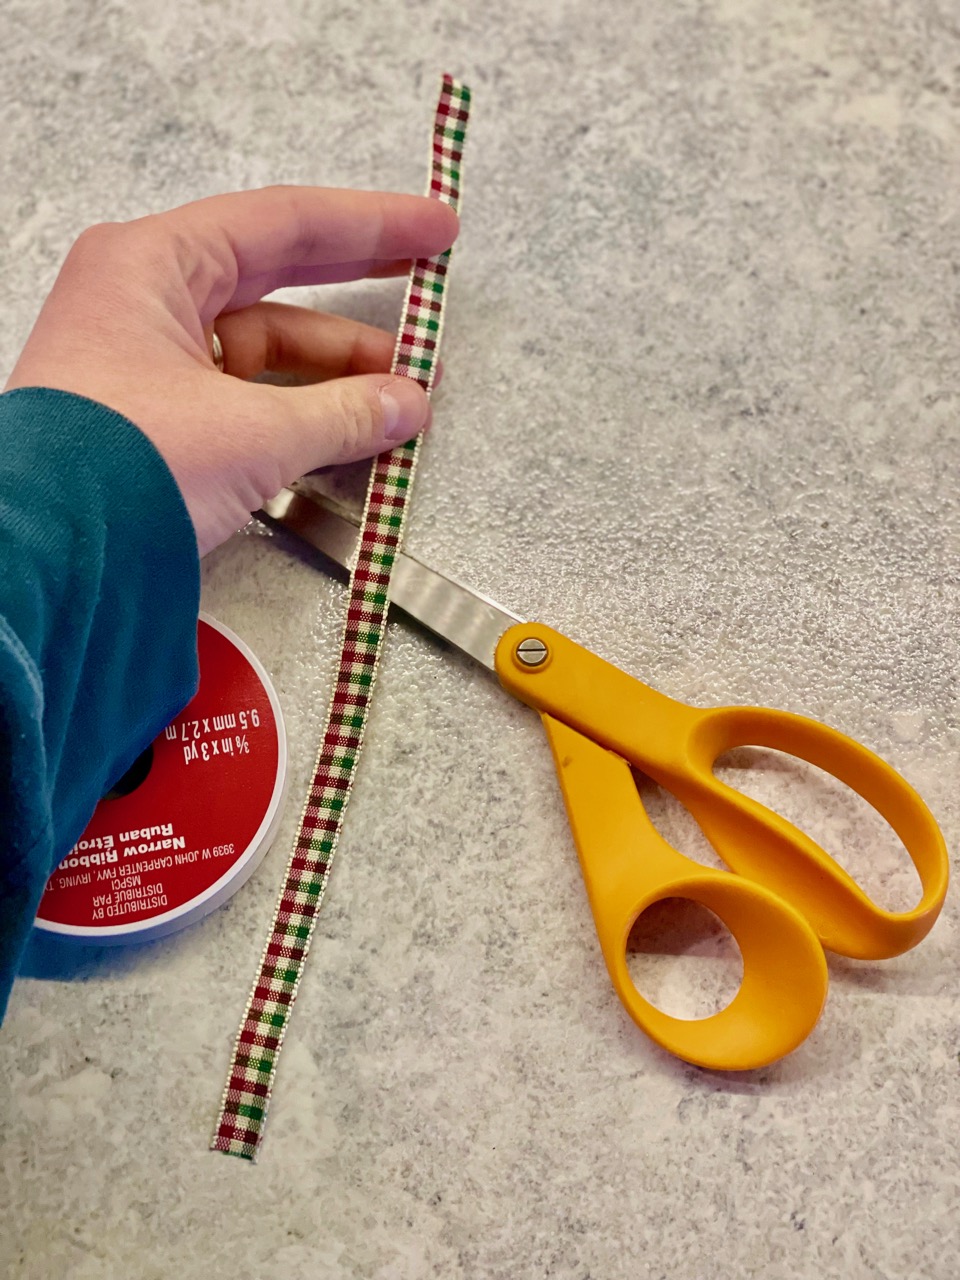
 While you are waiting, you can cut the ribbon into roughly 5 inch strips.
8. String Ribbon Through the Hole.
Insert one end of the ribbon through the hole, pull, and knot at the top!
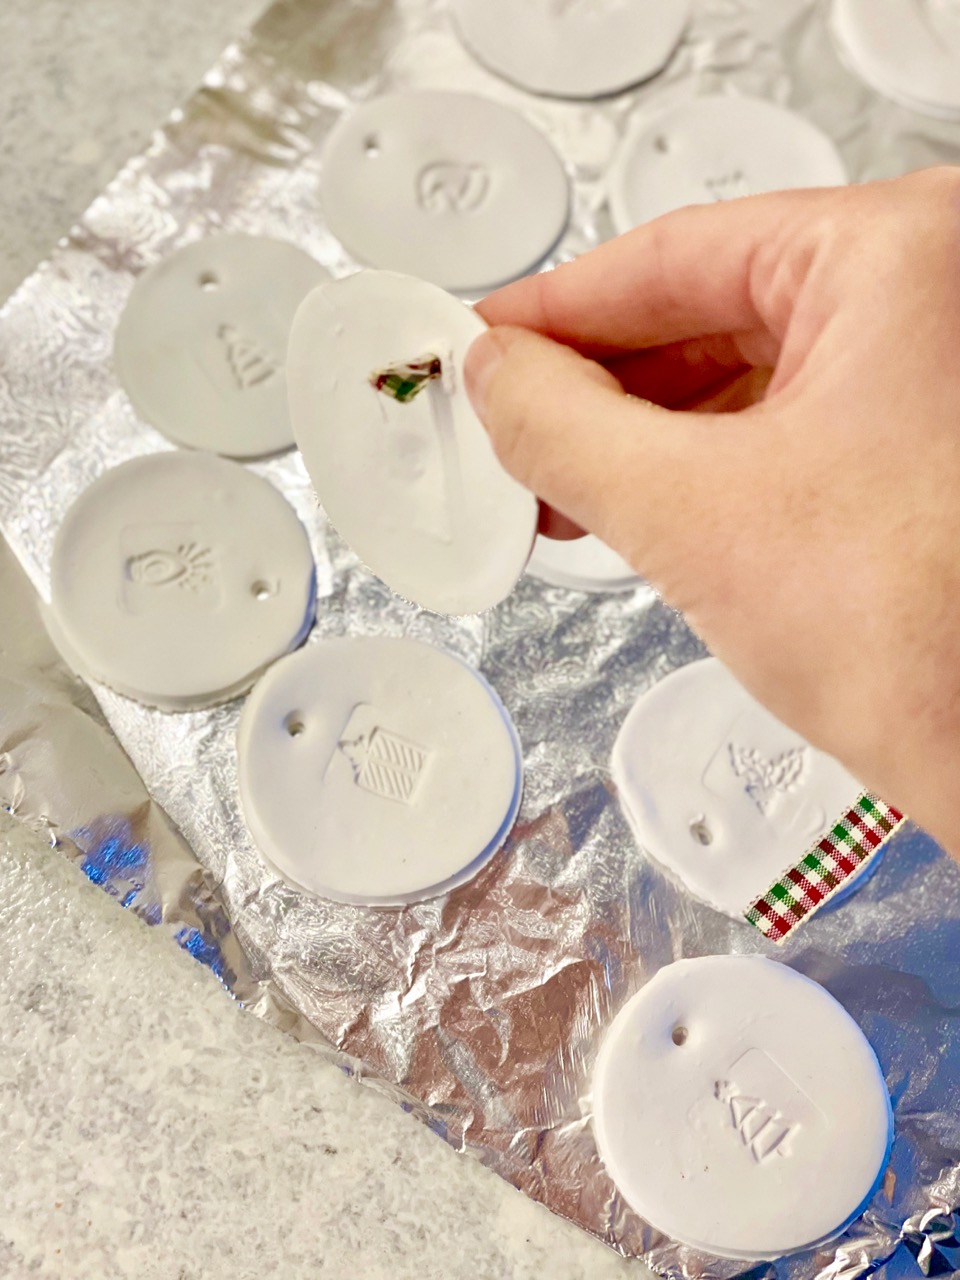
You have a finished ornament!
Continue stringing ribbon onto each ornament.
You can even use more than one kind of ribbon to vary the patterns across your Christmas tree.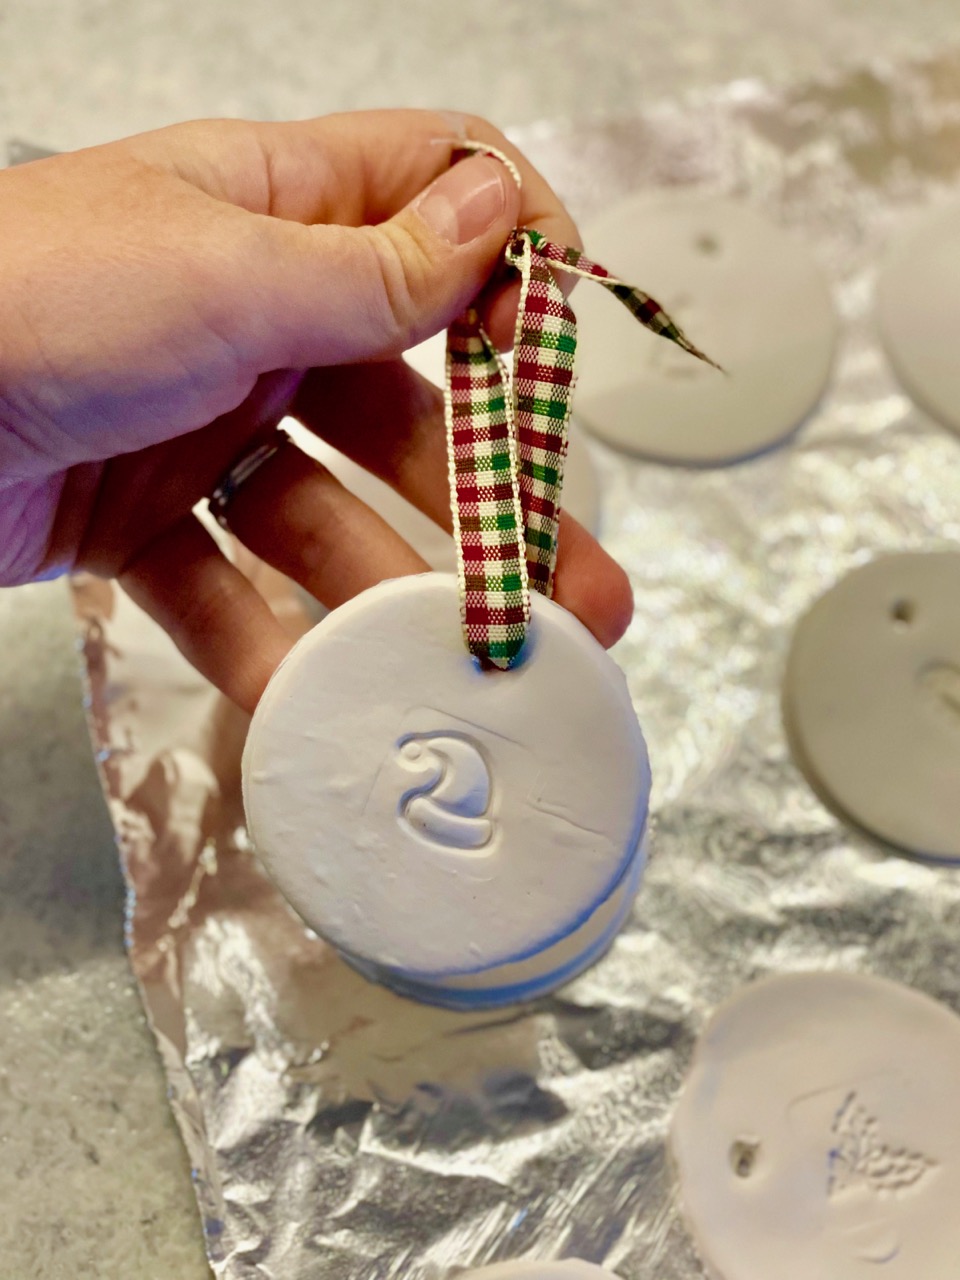
Sharing Your Homemade Ornaments
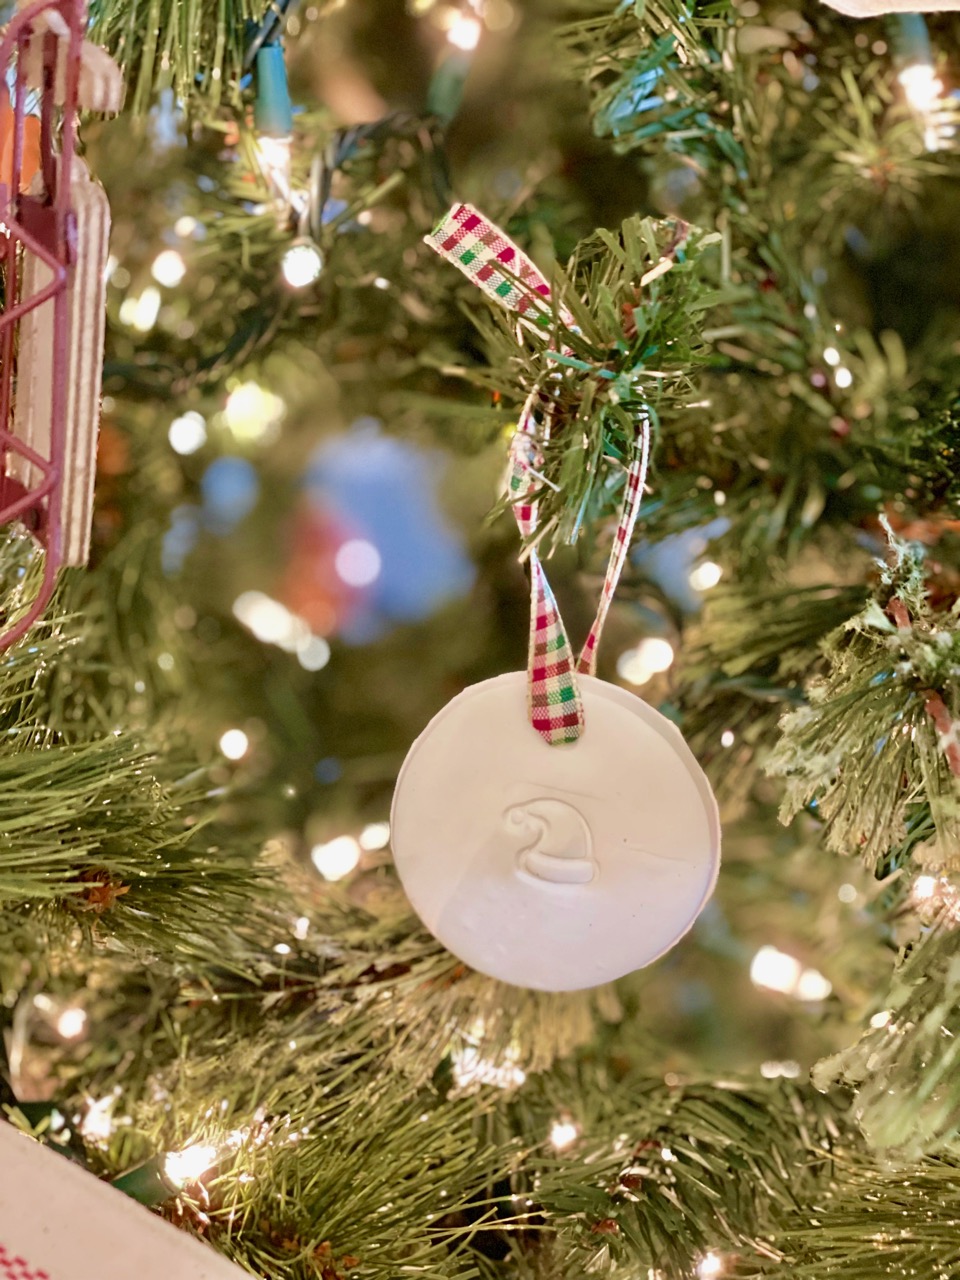
Look how pretty these clay ornaments look on the tree!
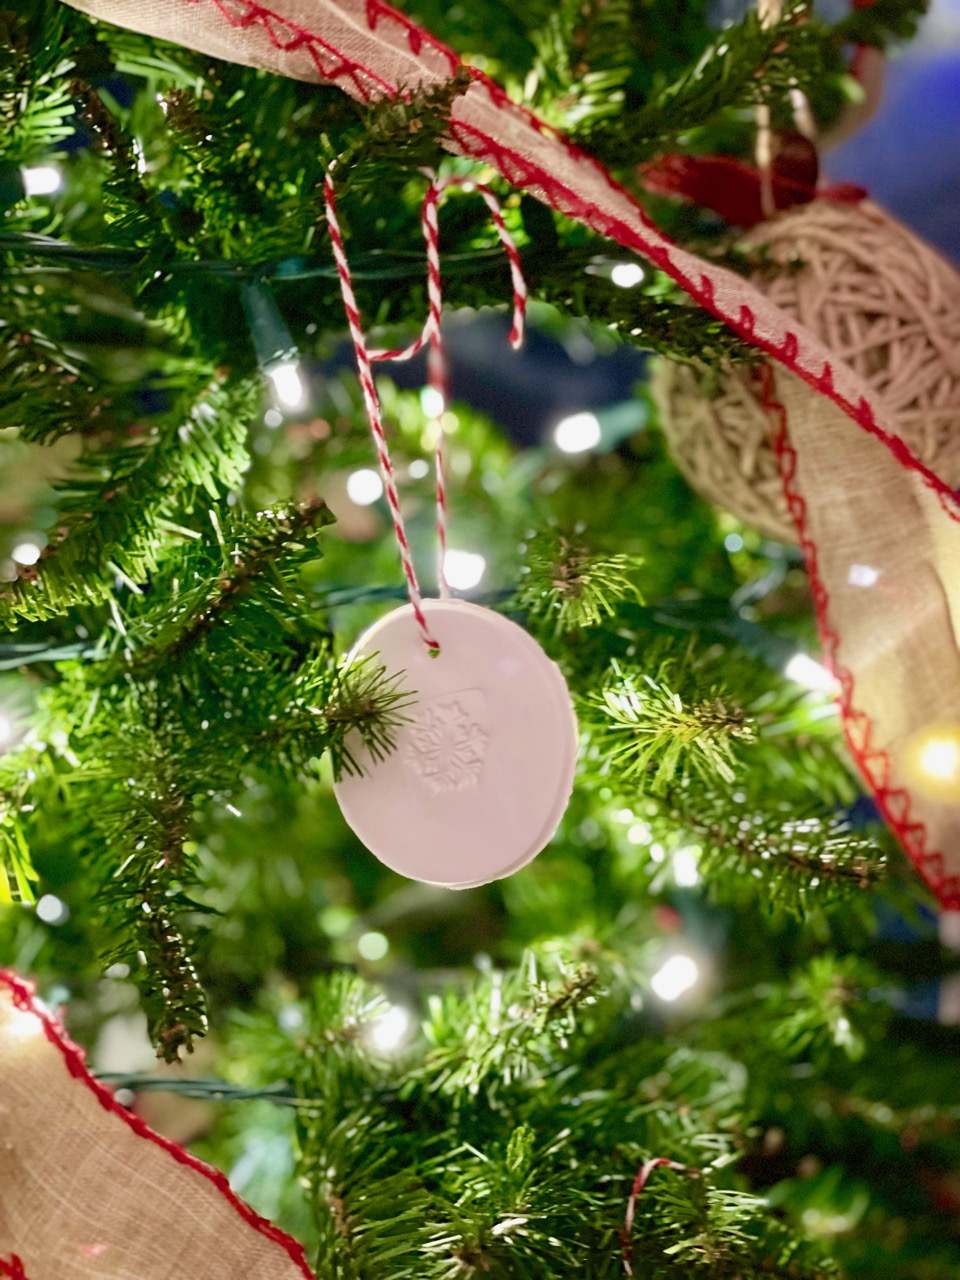
 You could also use these as gift tags or gift toppers on presents.
Closing Tidbits
I’m so pleased with how these homemade clay Christmas ornaments turned out! The rawness of the clay pairs so nicely with the textures of the Christmas tree. The white color of the clay really makes them stand out against the green as well.
I hope this project inspires you to create some homemade ornaments for your tree this season. They are unique and special and can be used year after year.

Be sure to go say hello to my friend Meagan over at Decorative Inspirations! She created vintage bottle ornaments that you can easily make and add to your tree. It was so fun collaborating with her to bring you two projects in one!
Leave me a comment! Would you make these for your own tree? I love hearing from you!

Just click the red button in the left corner!
If you are new here, I’m Rachel, the writer and content creator here at The Antiqued Journey. I’m so happy to have you! I encourage you to stop by the ‘about me’ page to get to know me a little more.
Here on the blog, you will find loads of inspiration for decorating with vintage and antique decor, simple DIY crafts and many thrifting adventures. If that interests you, I invite you to sign up for my e-mail. You will receive a free digital download as a thank you!
Follow Along with The Antiqued Journey
- The Antiqued Journey shop
- Follow me on LTK for curated home decor
Other Christmas Posts to Enjoy
Classic Red and Green Christmas Decor




4 Comments. Leave new
I am so glad we collaborated on making Christmas ornaments together. Super fun. Love how yours came out.
It was so fun!
[…] ideas, please be sure to check out my Christmas Basket Decor and my friend Rachel over at The Antiqued Journey with her homemade clay Christmas […]
[…] Homemade Clay Christmas Ornaments […]